Easy and Delicious Oatmeal Cookies

P1010403

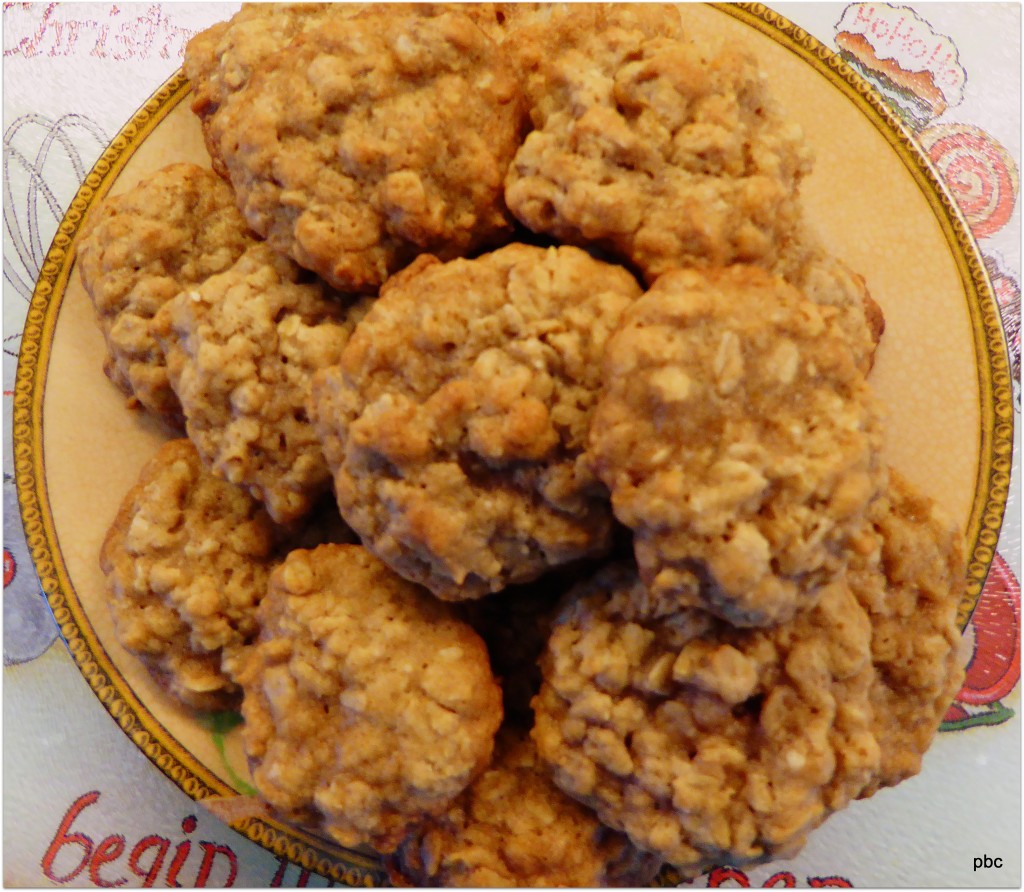
Oatmeal cookies are one of my favorites. I love cookies and I think of oatmeal cookies as being a healthier choice. I’m smiling at myself right now. It has been a very busy week, but I’m finally posting the recipe I promised several days ago. These cookies are delicious and the recipe is easy.

Ingredients

1 cup margarine or butter softened                                 1 1/2 tsp cinnamon

1 cup granulated sugar                                                     1 tsp baking soda

1 cup brown sugar firmly packed                                      1 tsp salt

2 eggs                                                                                3 cups oats uncooked

1 tsp vanilla extract                                                            2 cups all-purpose flour

2/3 cup raisins or 1 cup chopped nuts

Directions

Preheat oven to 375°F.

Cream butter and sugars until smooth.

Beat in eggs and vanilla.

In a separate bowl combine and blend thoroughly flour,cinnamon, baking soda and salt. Beat these dry ingredients into the creamed butter mixture. Stir in oats, and raisins or walnuts, which ever you prefer.
Drop rounded teaspoons full onto greased baking sheet. Bake 8 to 10 minutes, or until edges start to brown.

Makes about 6 dozen cookies.
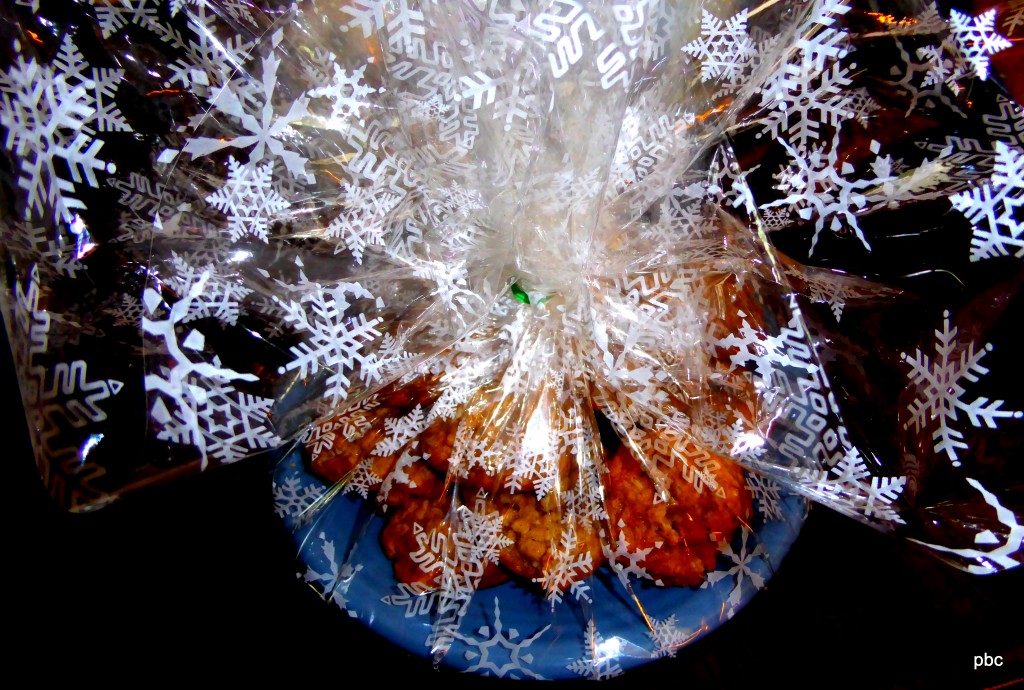
Cool on a wire rack. Eat and enjoy with a cup of tea, coffee or a glass of milk.  They are also great to give as a seasonal gift to friends, neighbors, and family. cookies

Delicious Ginger Snaps

Tea and cookies

Ginger snaps were my Nana’s favorite cookies. I must have inherited a love of  ginger from her. They are delicious, and perfect with a cup of tea. I have not made them for several years, but with fall almost here,  I decided it was time to do some baking. The oringinal recipe was from the London Free Press newspaper which is published in London, Ontario, Canada. In a previous post I wrote about Molasses Brown Bread, which was another recipe from the Free Press.

Today I decided to try something new and mixed it in a food processor instead of using the hand mixer. It worked well and was a lot less work. I also made two changes to the original recipe. Instead of all purpose flour, I used whole wheat and instead of 3/4 cup butter/margarine, I used 1/2 cup butter and 1/4 cup unsweetened applesauce. I believe these two changes make for a slightly healthier recipe, without losing any of the wonderful flavor. Next time I may go for just applesauce and omit the butter all together. I certainly hope you give this recipe a try.


1/2 cup butter                                                 3 3/4 cups whole wheat flour

1/4 cup applesauce                                        1 1/2 tsp. baking soda

1 7/8 cup sugar                                              1 Tbs. powdered ginger

2 large eggs                                                   1/2 tsp. cinnamon

1/2 cup molasses                                           1/4 tsp. cloves

1 Tbs. vinegar                                                1 cup raisins optional

Measure sugar and butter into food processor bowl. Mix until creamy.

Mix in eggs and applesauce. Add molasses and vinegar. Next add all of the dry

ingredients and mix slowly until combined. Fold in raisins last if used.

Drop dough from teaspoon onto greased cookie sheets in one inch mounds.

Bake at 325° F. for 9-10 minutes.Watch carefully, because the molasses tends to make them burn easily around the edges.

After I finished my baking, I just had to sit down with a cup of tea and a cookie. Well, actually two cookies. I just couldn’t help myself. I do hope you will try this recipe for my Nana’s favorite Ginger snaps.


Molasses Brown Bread

cake and tea

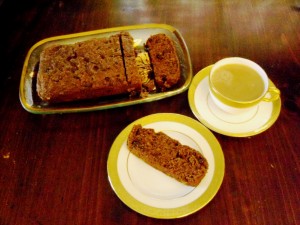
This recipe for Molasses Brown Bread is an old one that I clipped from the London Free Press news paper in the 70s, when I was first married and living in Canada.

I discovered the clipping filed away in an old cook book, several weeks ago. I knew I wanted to post it on my blog sometime in the future, and when I got up this morning, I knew that today was the day.

It felt like fall. Baking and fall seem to go together. I know I may be rushing things, but the light coming through the windows was different. The angle and the intensity had changed. Yes, autumn was definitely on the way.

I love the word autumn, so just had to use it. While the bread baked, the entire house filled with the scent of cinnamon, and it was wonderful. The recipe says brown bread, but it really is more like a cake. Not as sweet, but perfect with a cup of tea or coffee.Dry ingredients

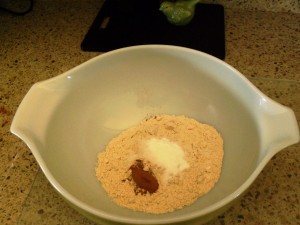
1 cup Whole Wheat Flour       Mix these dry ingredients together in a bowl and set aside
1 tsp. Baking Soda
1/2 tsp. Salt
1/2 tsp. Cinnamon

Beat one egg in a large mixing bowl until foamy. Mix in one cup of All Bran Cereal

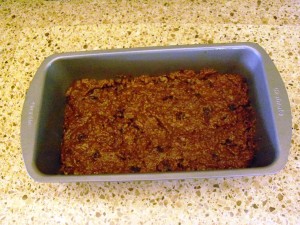
Add 1/2 cup raisins, 2 Tbs. butter, and 1/3 cup molasses. Next add 3/4 cup hot water. Stir until butter is melted. Now add dry ingredients and mix only until combined. Do not over stir. Place batter in 9x5x3 well greased loaf pan. Bake at 350° F for 30-35 minutes, or until firm.

cake in pan
Serve warm or chilled. Slice thin. I hope you will enjoy.
Now that I have finished this post, I think I will go and have a slice of molasses brown bread, and a cup of tea.


How to Make Sourdough Bread, Part Two

Five days have passed, and the sourdough starter is ready. I do this next step the evening before bread baking day.

To  make the primary batter needed for the actual bread, I take one cup  of my starter and place it in a warm bowl. Then I place the remaining starter, about one cup,  in the refrigerator for future use. Remember to use something non-breakable and not to seal it too tightly.

Next, add 2 cups of warm water to the 1 cup of starter in the bowl. Then add 2 1/2 cups of white flour, stirring continuously for 4 – 5 minutes or until the mixture is smooth. Cover the bowl with plastic wrap and place  in a warm draft-free area for 12 hours of proofing. The next morning, the primary batter is ready to go. You end up with approximately 4 cups of primary batter, i.e. three cups for your bread recipe and one cup to store. I know this seems like a lot of work, but once you have your starter made, future peparation will not have as many steps. I promise.
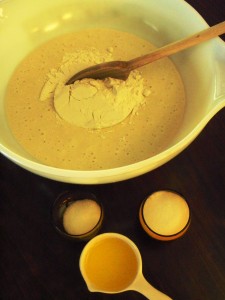
Preparing BreadNow we are ready to start the bread itself.

3 cups primary batter

6 – 6 1/2 cups white flour

2 TBS white sugar

1 1/2 cups warm milk

2 TBS melted butter (or margarine)

2 tsp salt

Place the 3 cups of Pimary batter in a large warm bowl and stir in 1 cup of the flour. Stir in 2 TBS of sugar. Then add the salt, warm milk, and melted butter and stir. Next, add approximately 4 cups of the flour or enough to make the dough too stiff to stir with a spoon.

Now place the bread on a well floured bread board. Knead in enough additional flour (about 1 – 1 1/2 cups) to make the dough smooth and elastic. I find sourdough to be very forgiving, so don’t get too caught up in the consistency of the dough.

Next, lightly apply a little softened butter to the outside of the dough.  Place in a lightly greased bowl, cover with a cotton towel, and place in a warm, dry area (85-90° F) until the dough doubles in size, or approx. 2 hours.
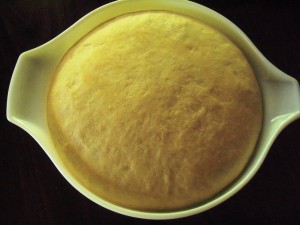
Risen Dough

When the dough has finished rising, punch it down with your fist to release built up gases return the bowl to the same warm, dry place, and let rise for another 30 minutes.

Place risen dough back onto floured bread board and divide in two.  Fold each half over unto itself and pinch the bottom closed.  Place the dough with the  sealed bottom down into a well  greased (3″x5″x9”) loaf pan.
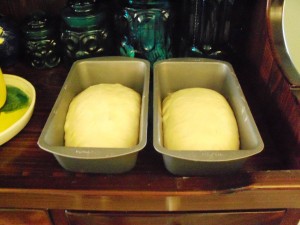
Two Pans

Brush the tops with a little melted butter and then place the pans in a warm spot for approximately 90 minutes.

After the final rising, preheat oven to 375° F, then place bread pans on the center rack and bake for approximately 45 minutes or until the bread moves away from the sides of the pans and is well browned on the top.

When baked, remove the bread immediately from the pan and place loaves on their sides on wire racks, to cool.  Brush the tops with melted butter for a softer crust.
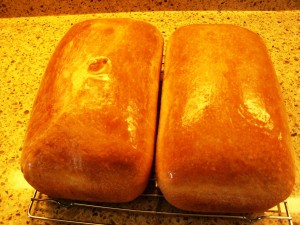
Shiny Bread

Finally, I hope you enjoy your sourdough bread as much as we did last evening, along with our dinner of lentil soup and tossed green salad.
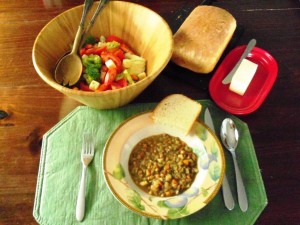
Dinner

If you have any questions about the recipe, or about the process of making sourdough bread, please do not hesitate to email me at  Visit@Plumbirdcorner.com
How to Make Sourdough Bread

Alverado bakery

It all started with this sign and the wonderful aroma of sourdough bread wafting through the air. We were still on vacation and spending the night in Petaluma, California. I was walking our dog, Annika, when I came upon this sign for a commercial bakery that did not sell to the public. I was reminded of the past when I’d baked my own sourdough bread. The process has always fascinated me, and history tells us that the 1849 gold rush miners carried some of their own starter. I knew that, when our vacation ended and we returned home, I would locate my old recipe and begin to make the starter batter.

If you are not familiar with the preparation of sourdough bread, it begins with a starter batter that is used instead of yeast. After the preparation of the bread, one cup of the starter is stored in the refrigerator until the next time it is needed.  After the initial preparation of the starter, which I will show here, the batter rests for five days and gathers strength. Waiting is the hardest part.

sour dough 1

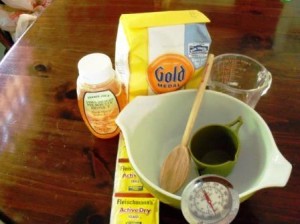
Ingredients needed: Bread flour, honey, active dry yeast, and water.

3-1/2 cups bread flour

2 cups warm water (105-115° F)

1 Package of active dry yeast

1 tbl. of sugar or honey

Sour dough 3

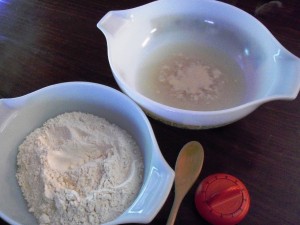
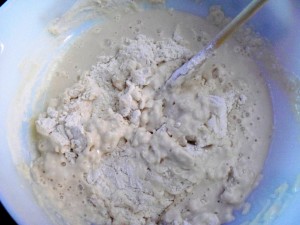
Sprinkle yeast into 2 cups of warm water and stir gently.  Let rest for 5 minutes.  Next add 3-1/2 cups flour and 1 tbl.sugar or honey. Blend well.

sourdough 5b

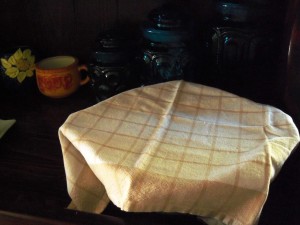
Once blended thoroughly, cover the bowl loosely with plastic wrap and cover with a cotton towel. Place in a warm draft-free place (80-85° F) for 5 days. Be sure to stir once daily.  When preparing sourdough starter it’s very important to use glass bowls and wooden spoons, no plastic. When later storing the starter in your refrigerator, use a glass or stoneware container.  Cover lightly, as gasses that form can break the container if it is sealed too tightly.

sourdough 7

As I post this, my starter is in its third day.  I will continue with this post when it is time to prepare and bake the bread. See you then.