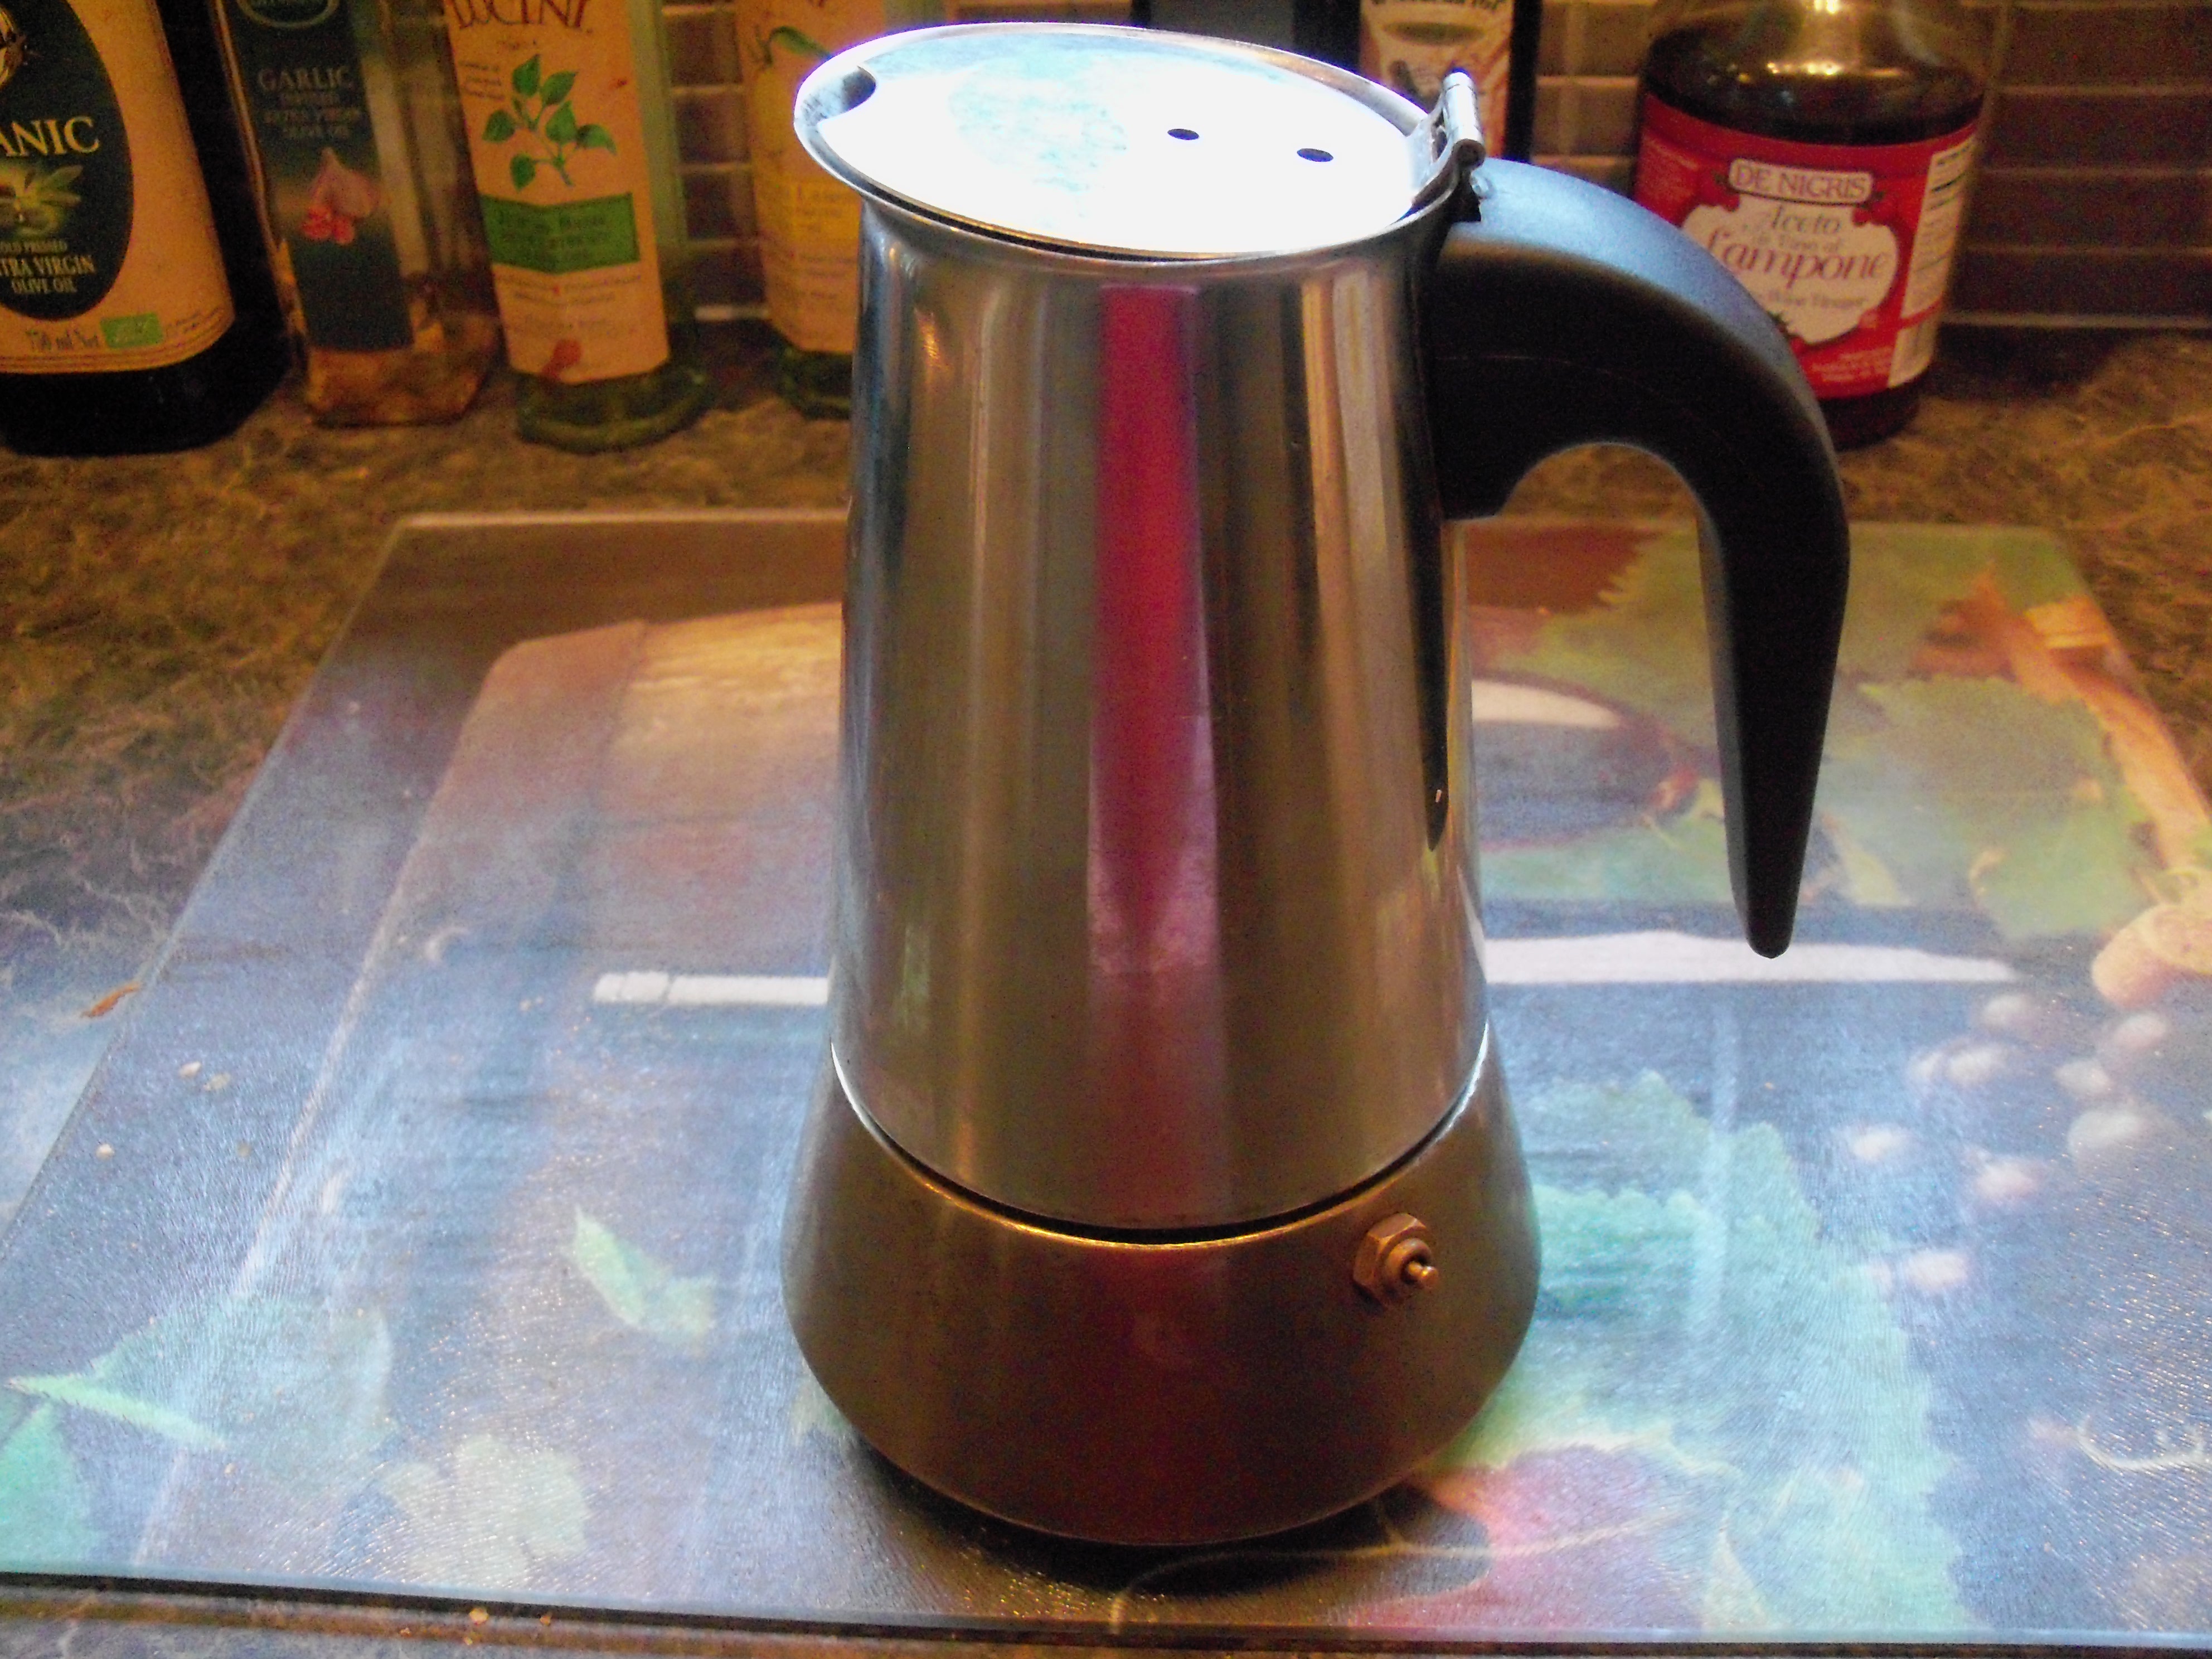
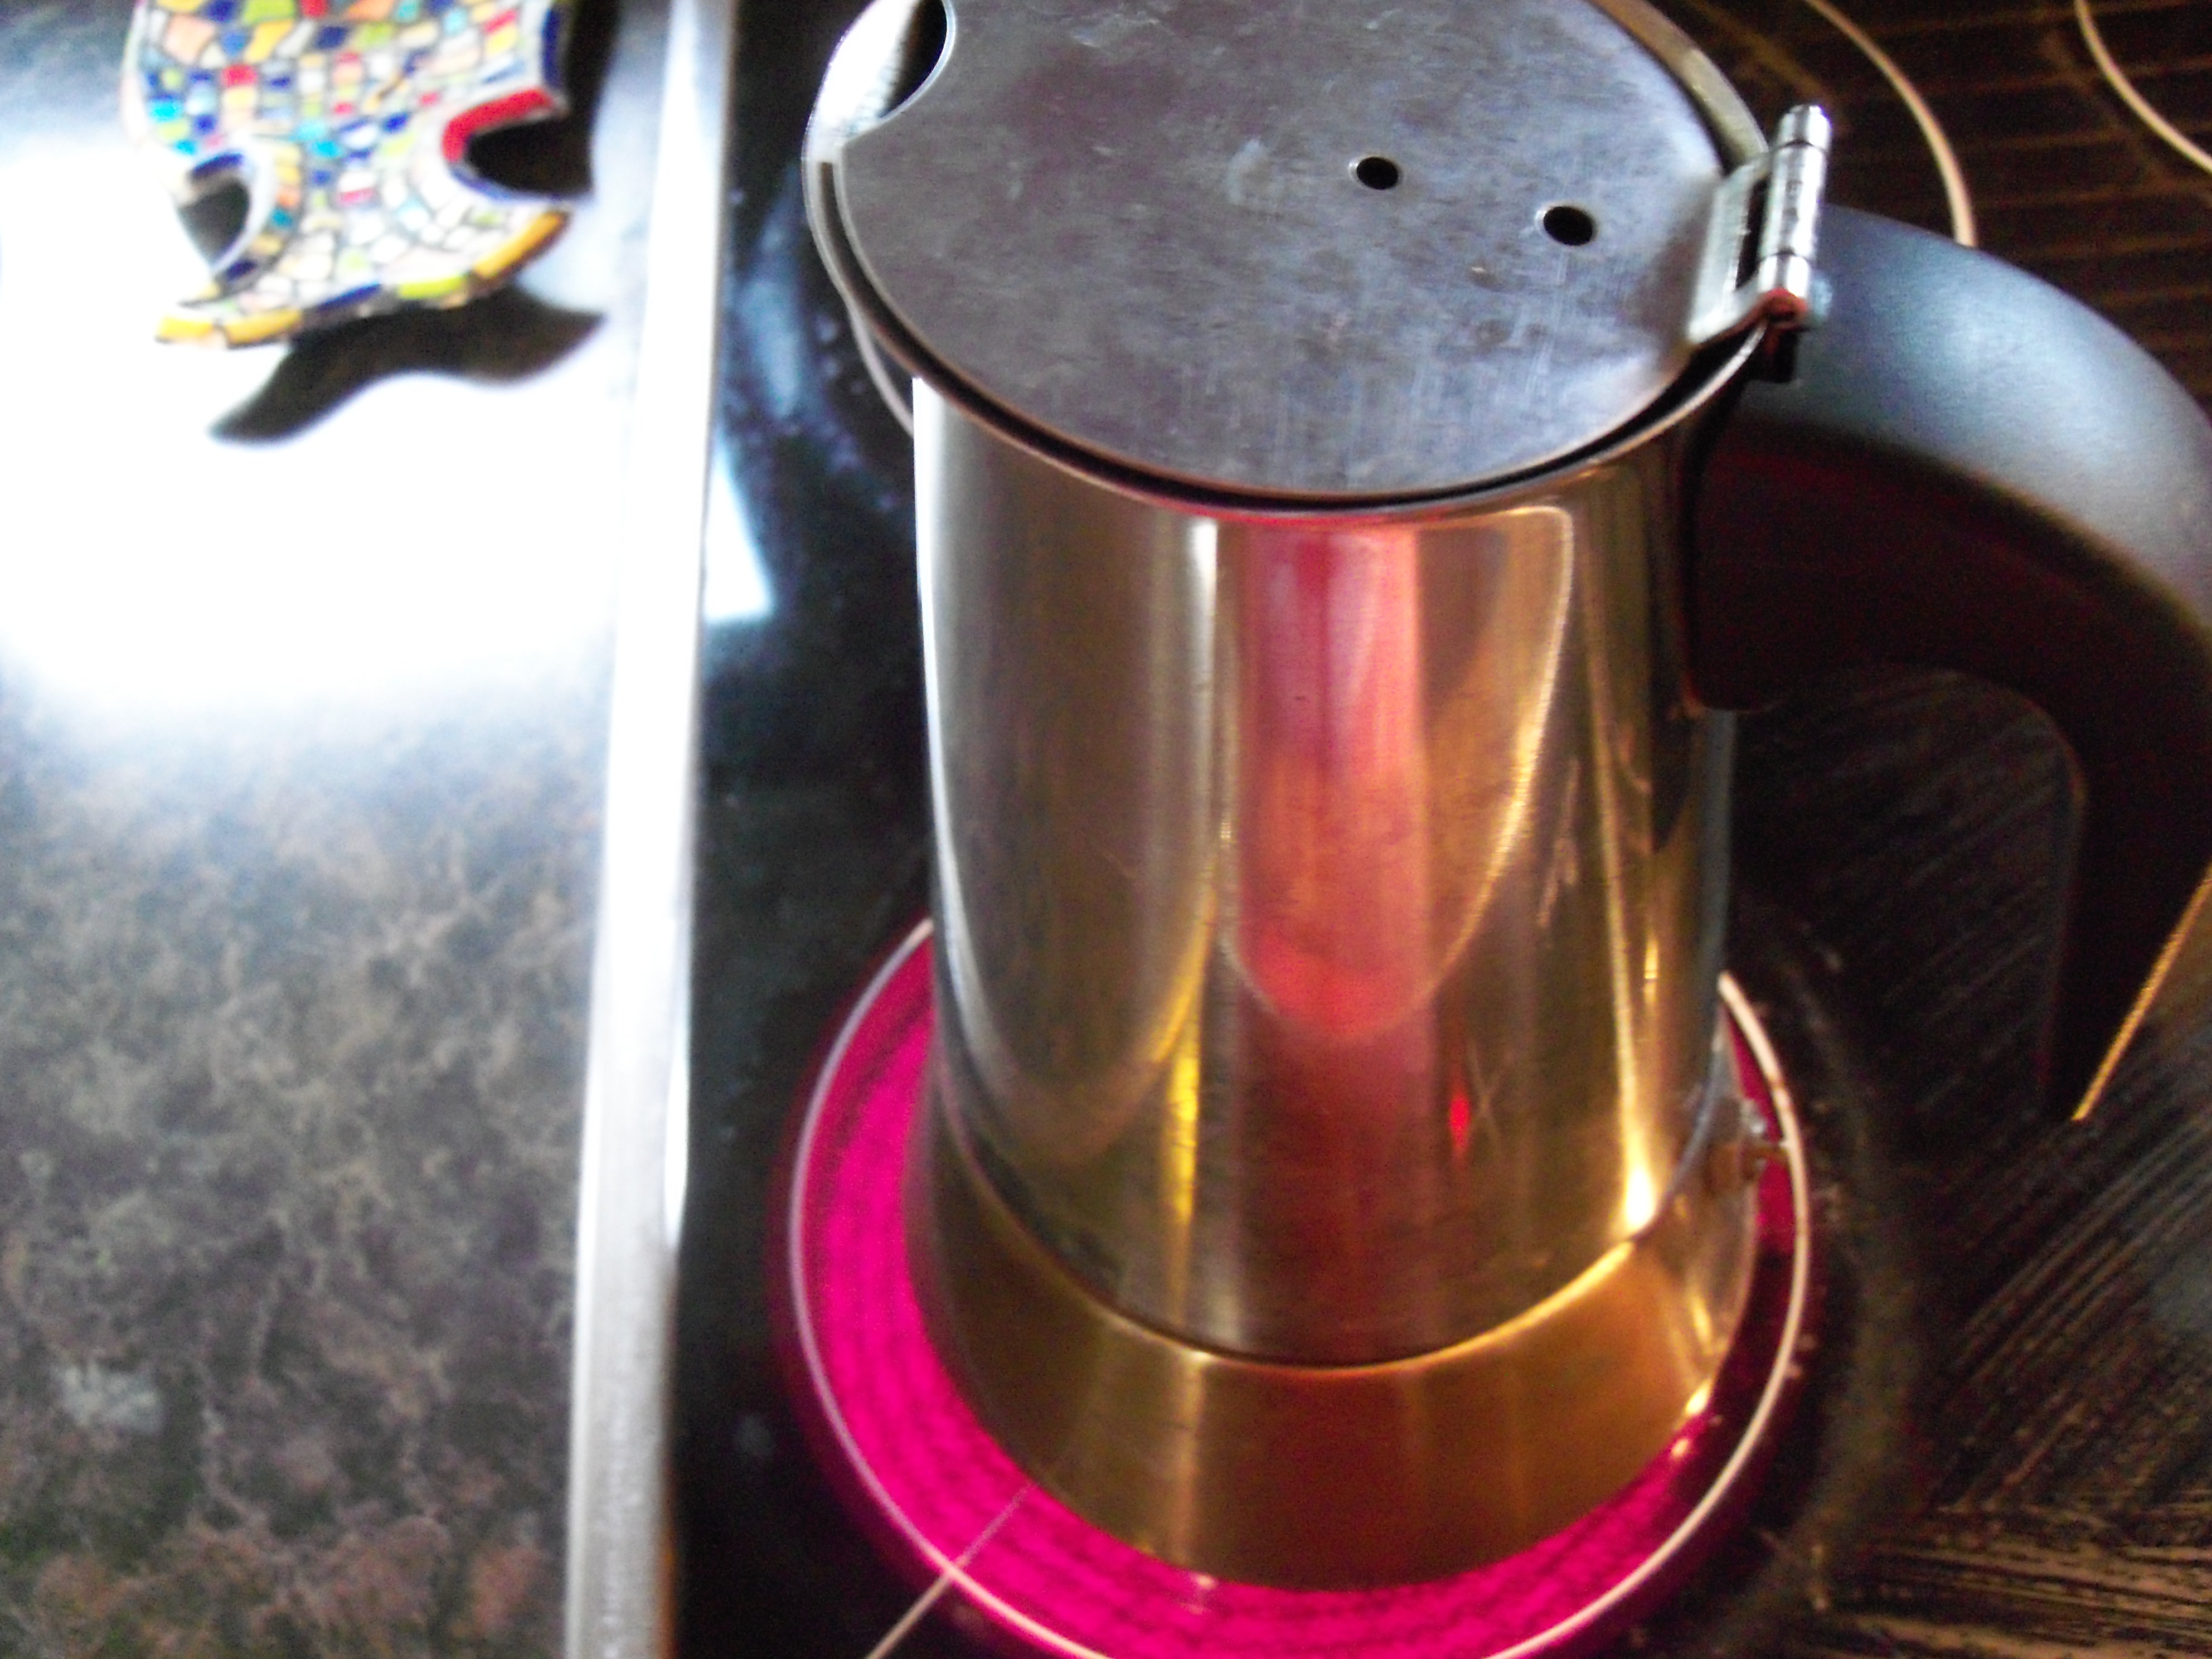
This is the stove top espresso maker I use every morning to prepare my coffee. I have fallen in love with it. I’m thinking of taking one home with me to California. For those who are new to this type of percolator, this is how it works.
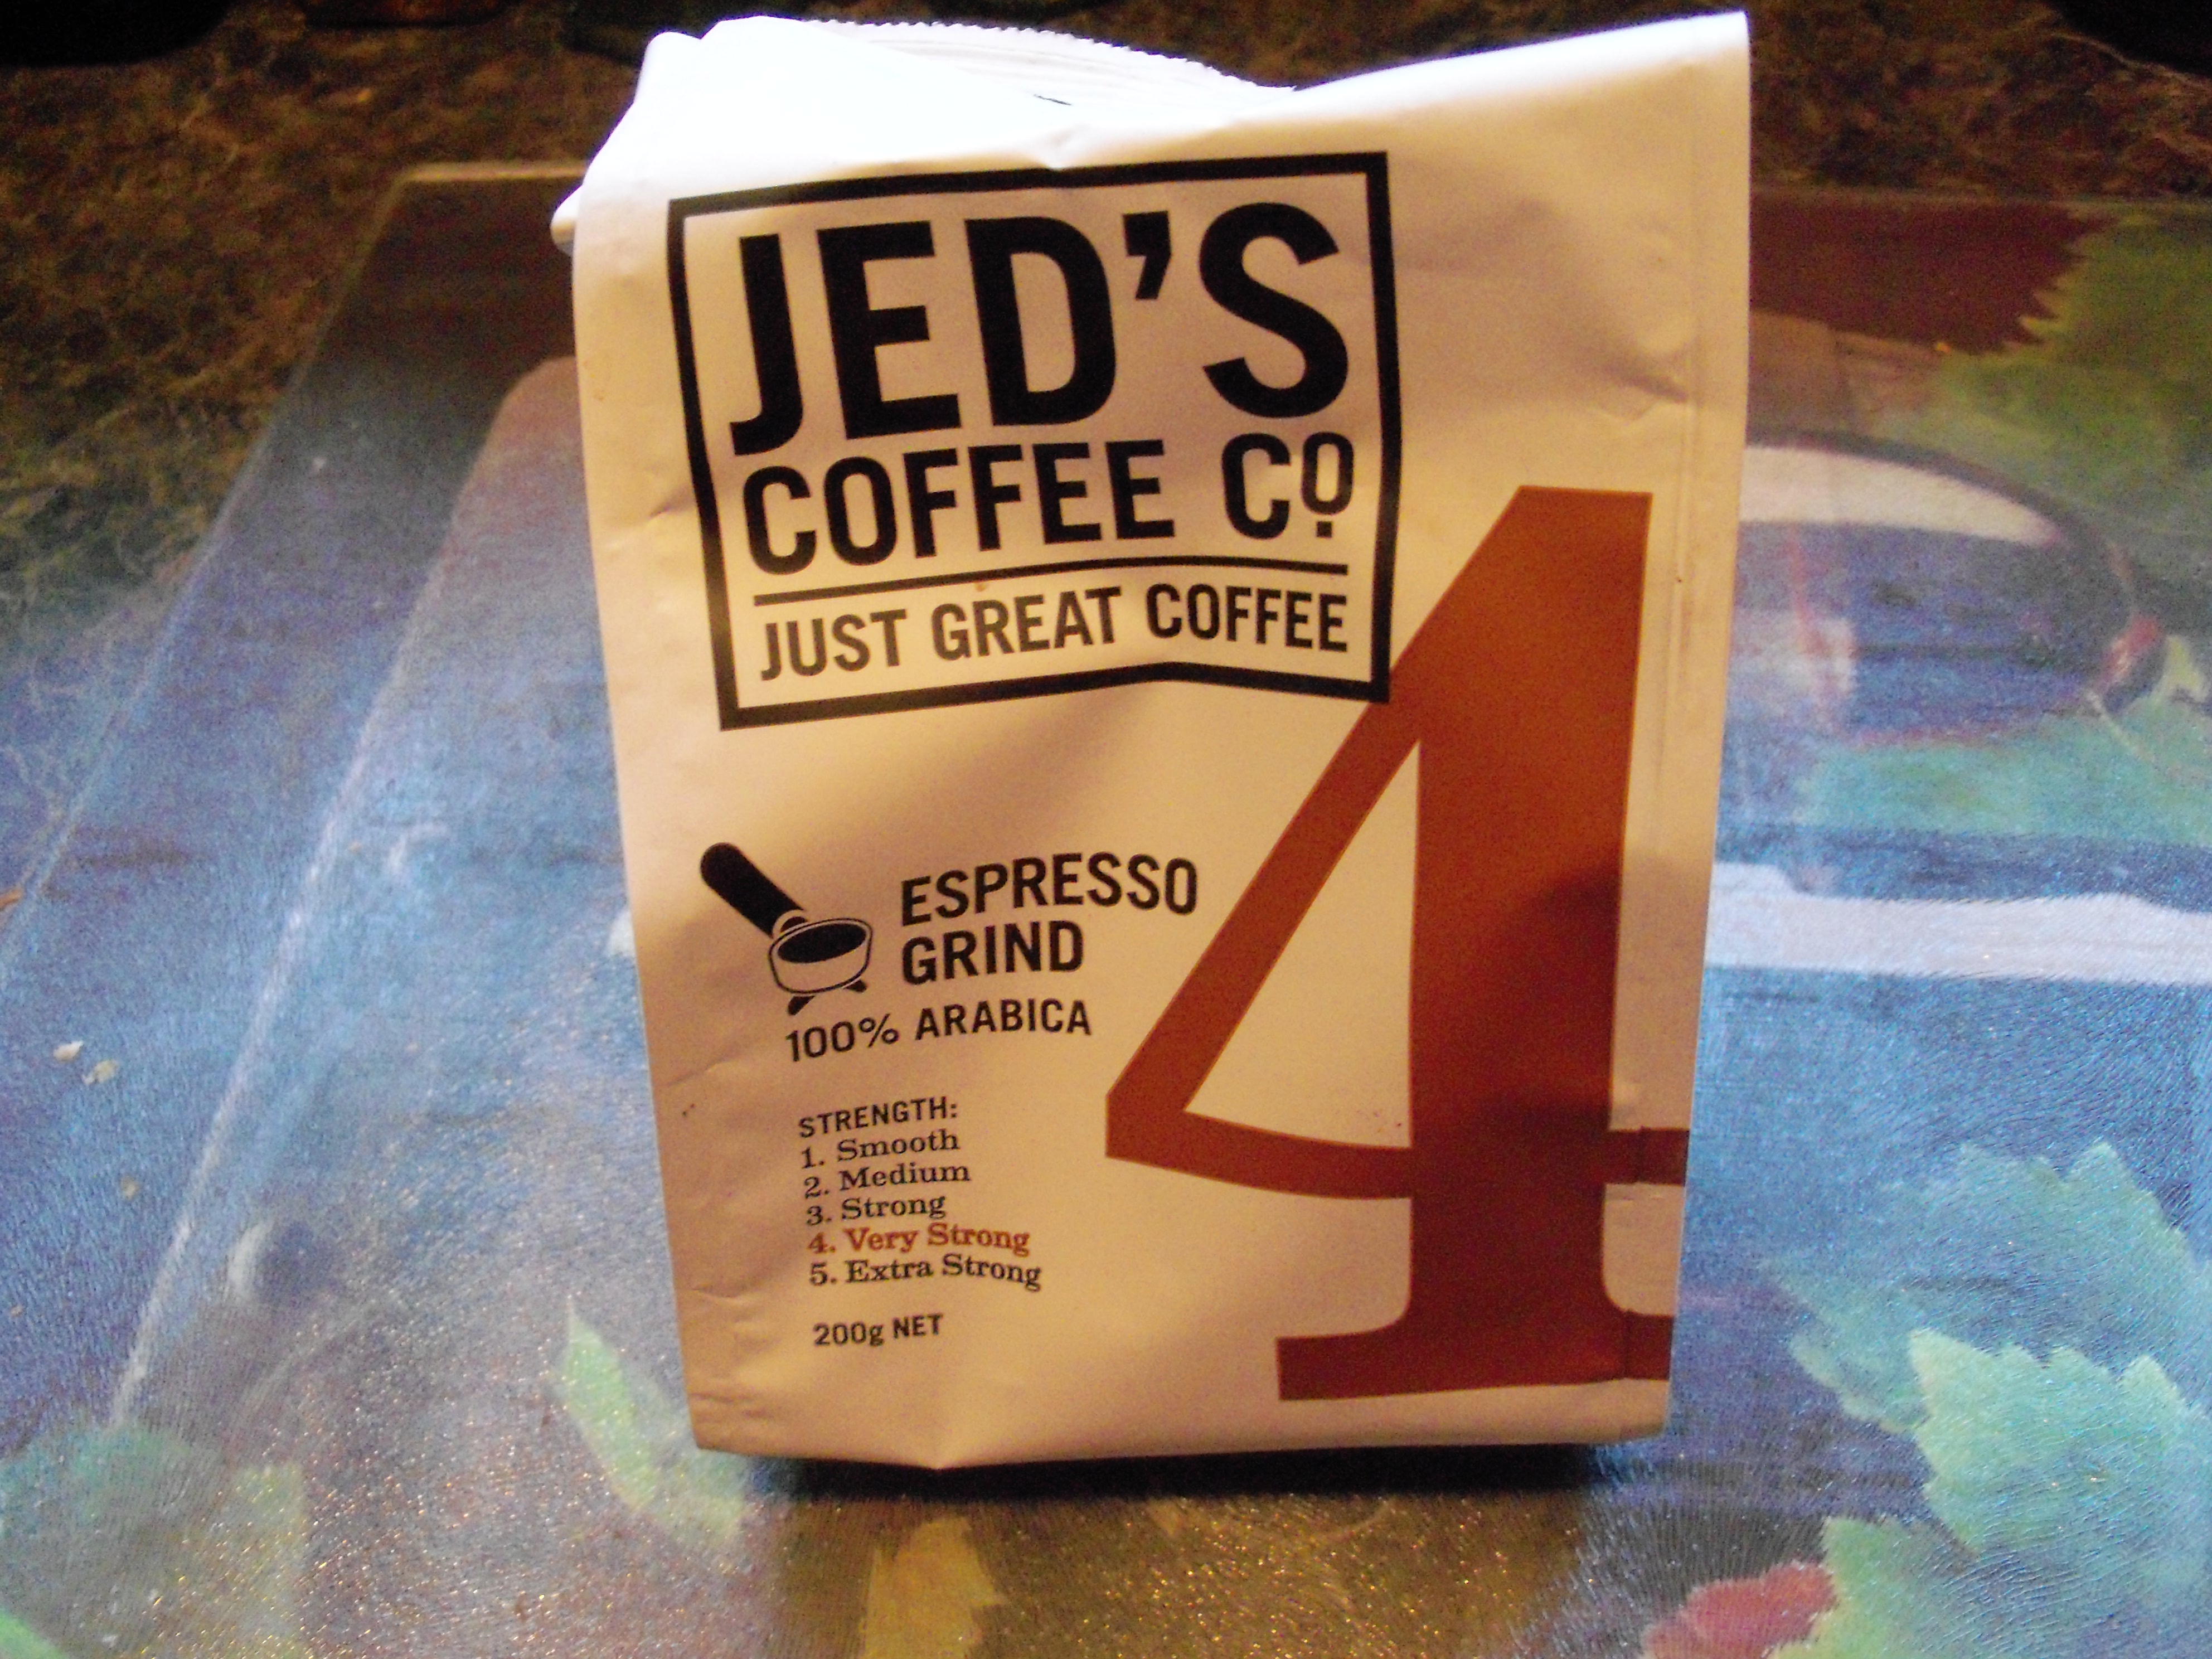 It uses espresso grind coffee. This is the brand I use here in New Zealand.
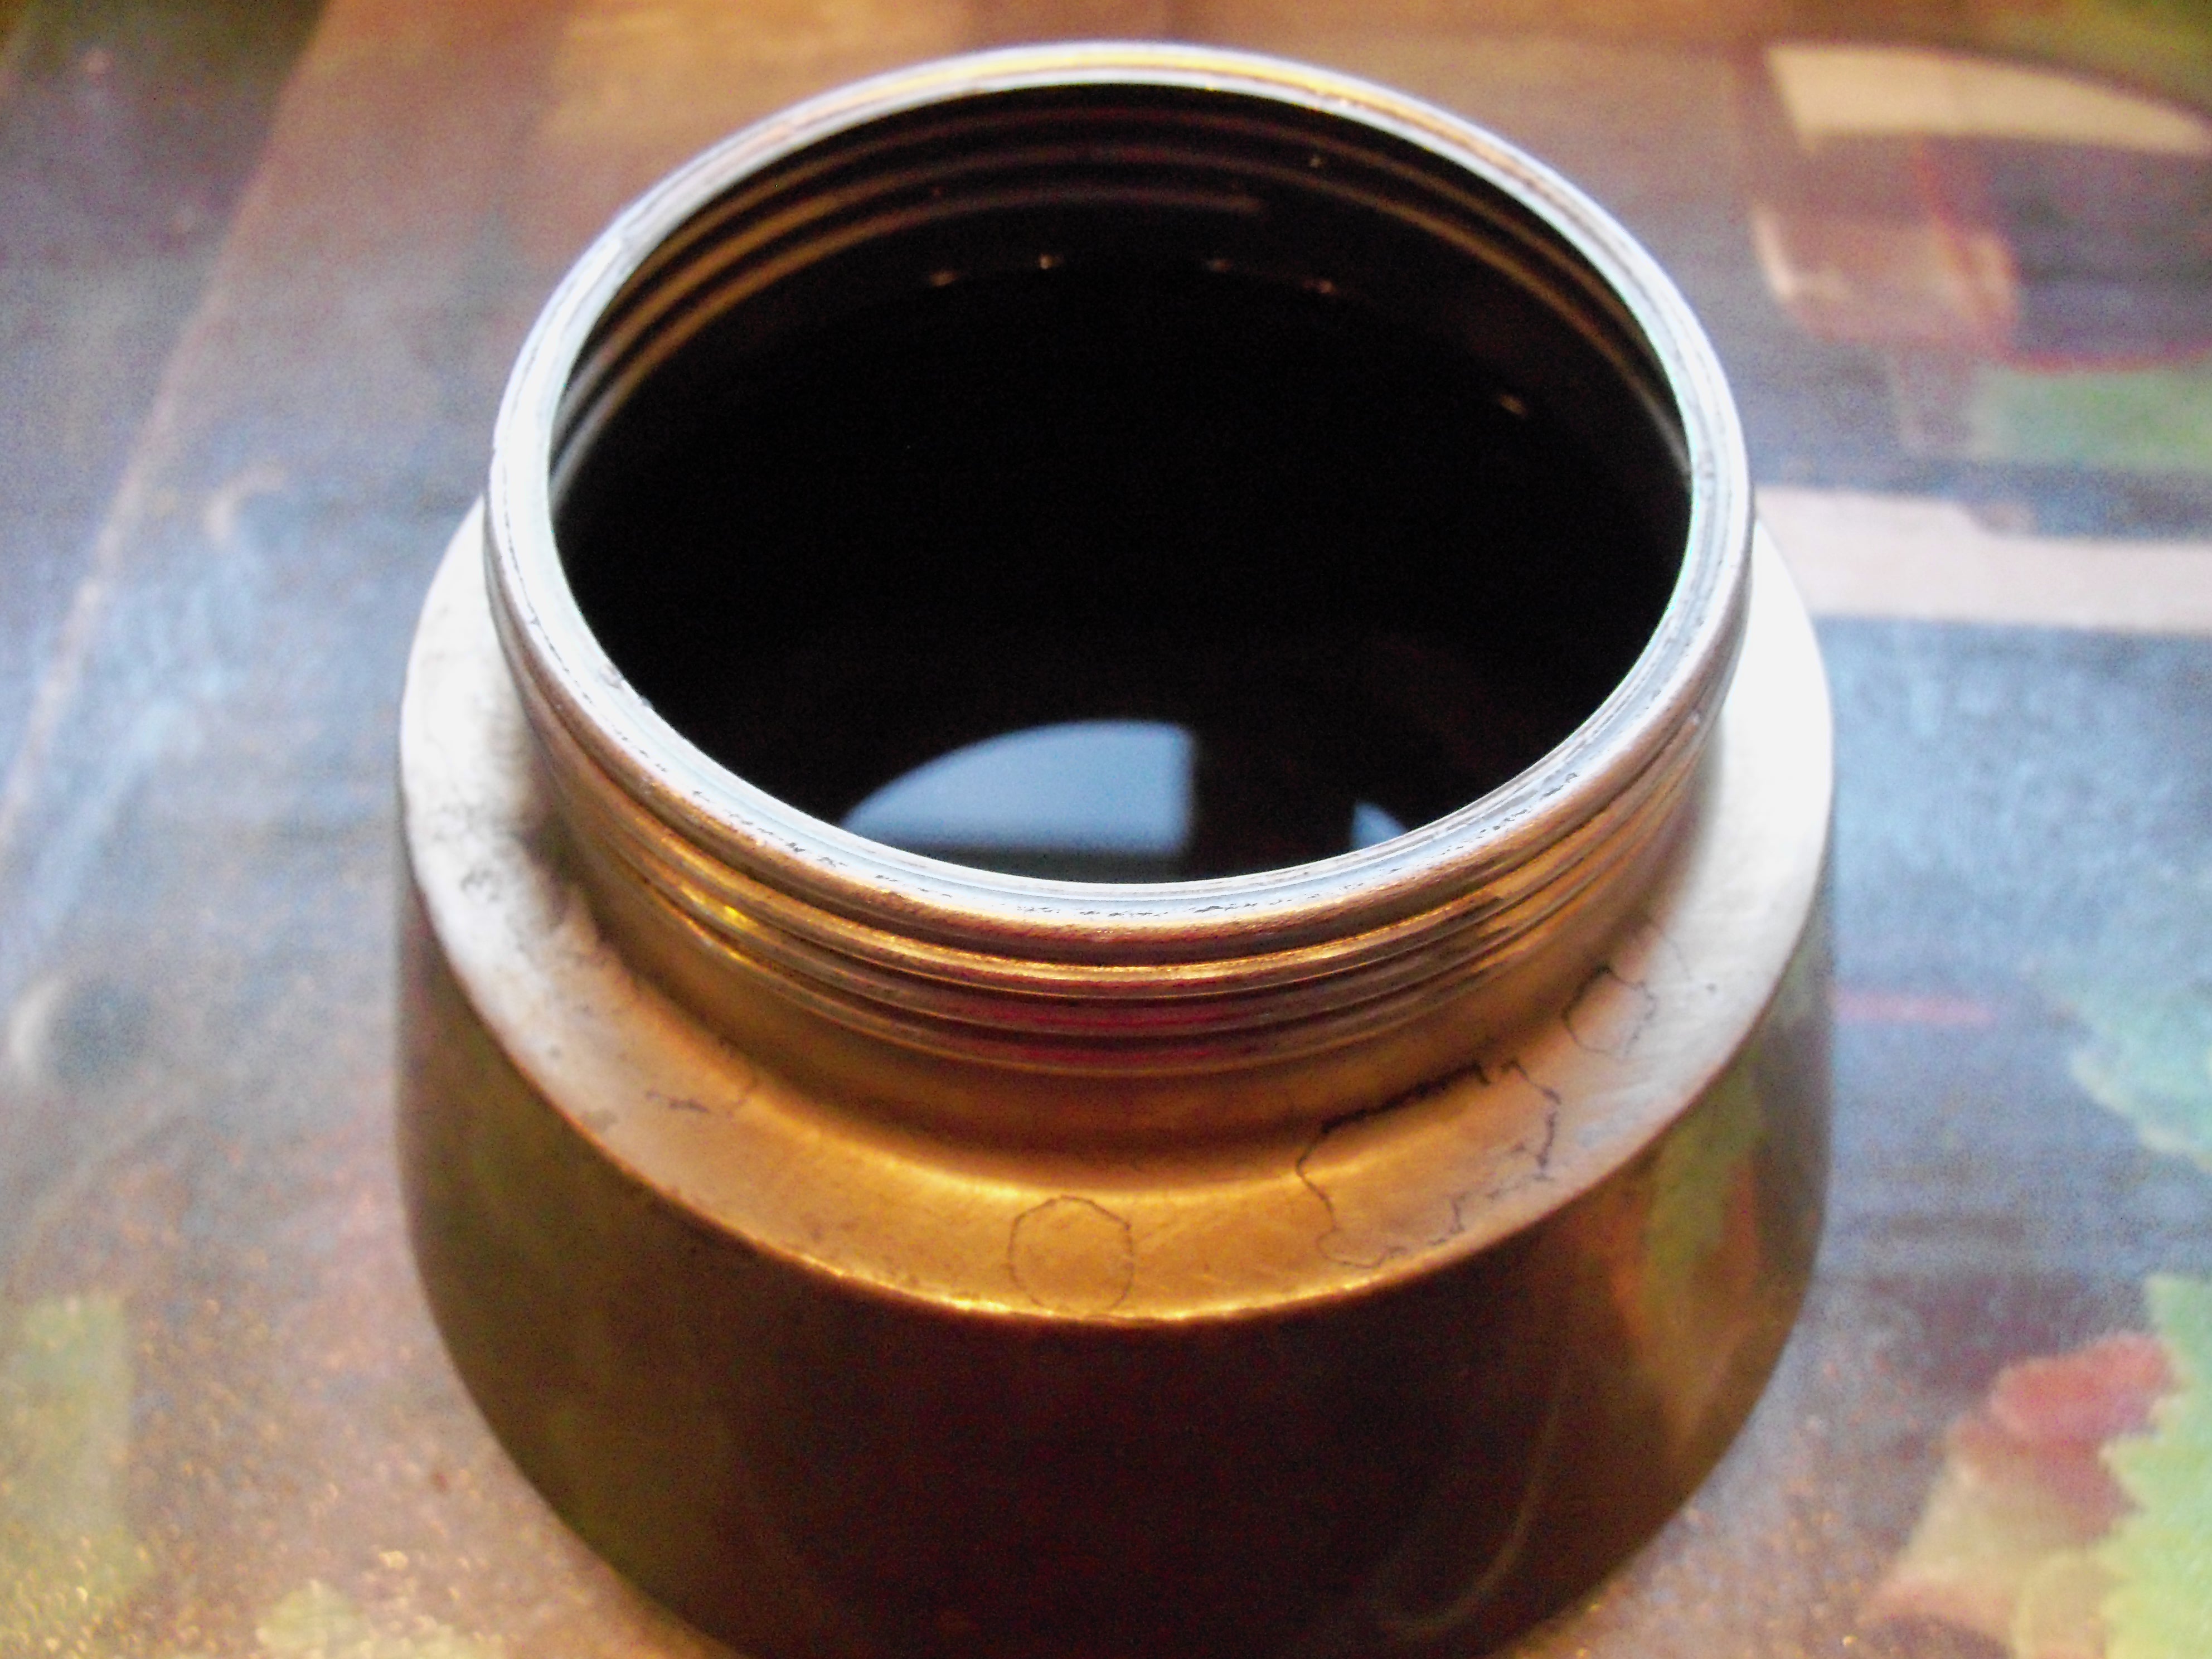 Twist to separate the upper and lower parts. Fill the lower part with water, to the line indicated.
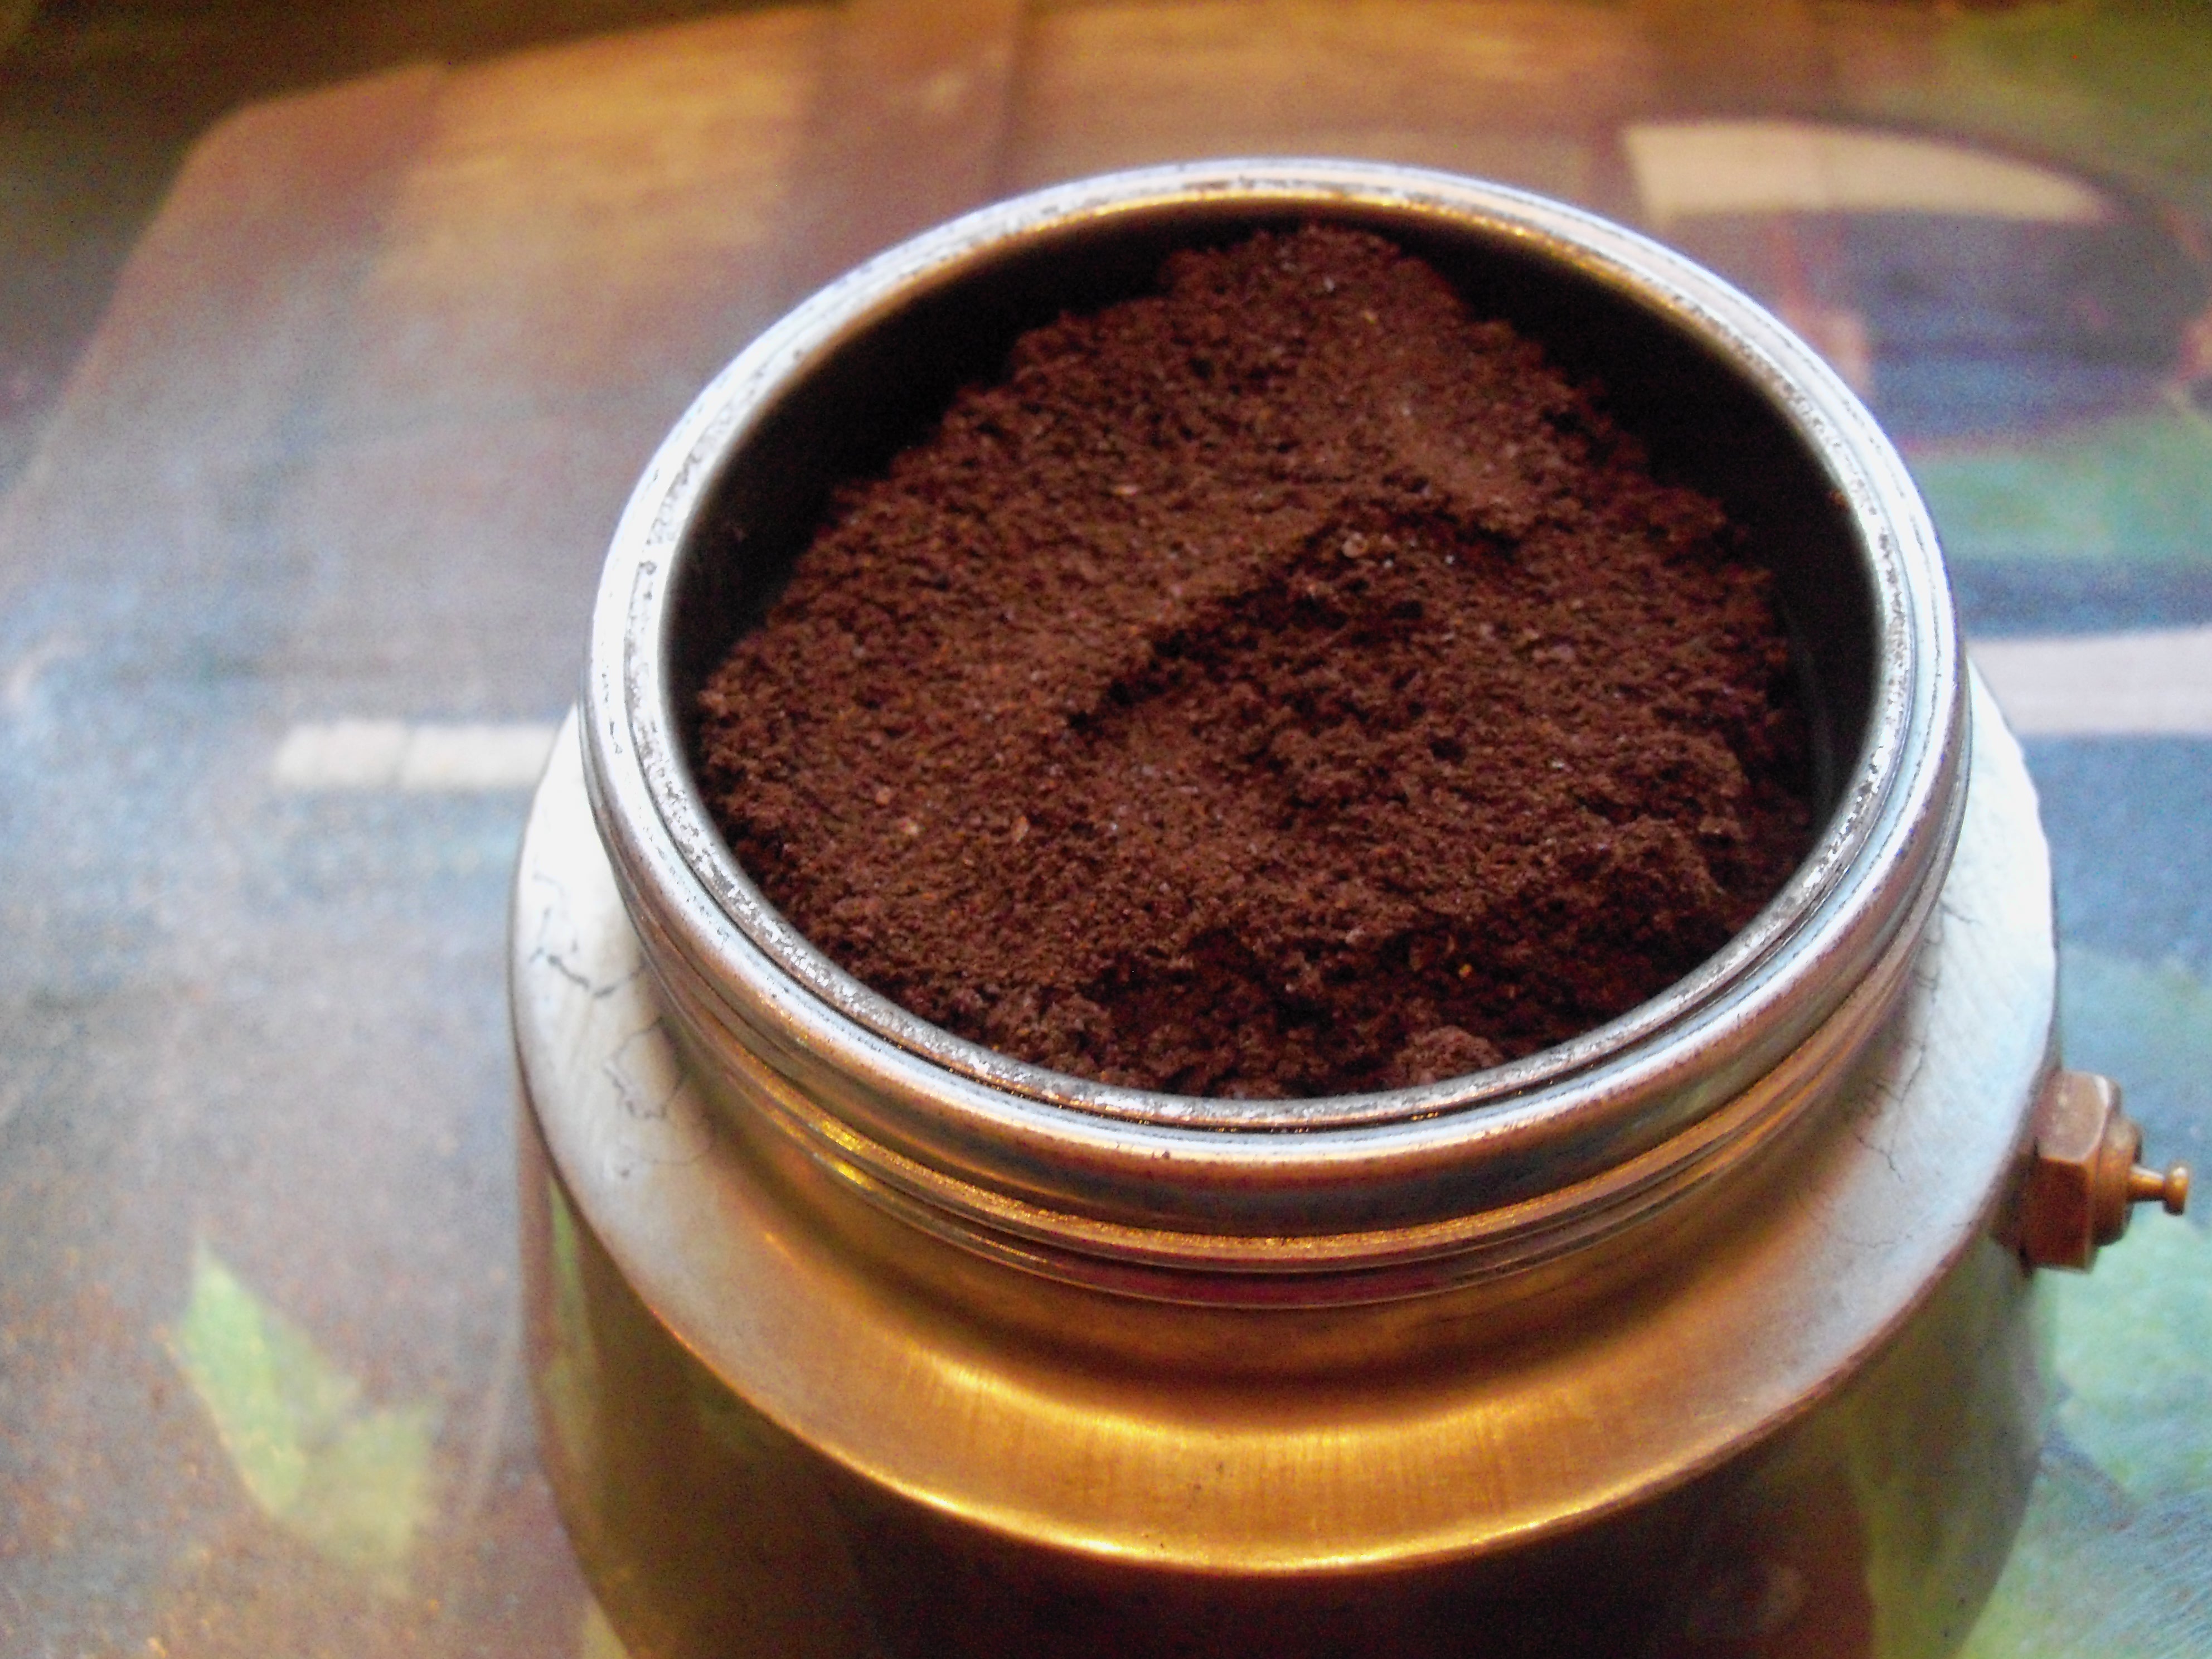 Fill the basket section with coffee. Do not pack down. When the basket is placed in the lower section, water should not cause the coffee to float. Notice the small pressure release valve on the right side of the base.
Screw the top portion of the espresso maker to the bottom portion. Turn until tight. The coffee is under high pressure, so it’s important to make sure the bottom and top are together very tightly. I pointed out the small pressure release valve in the photo above.
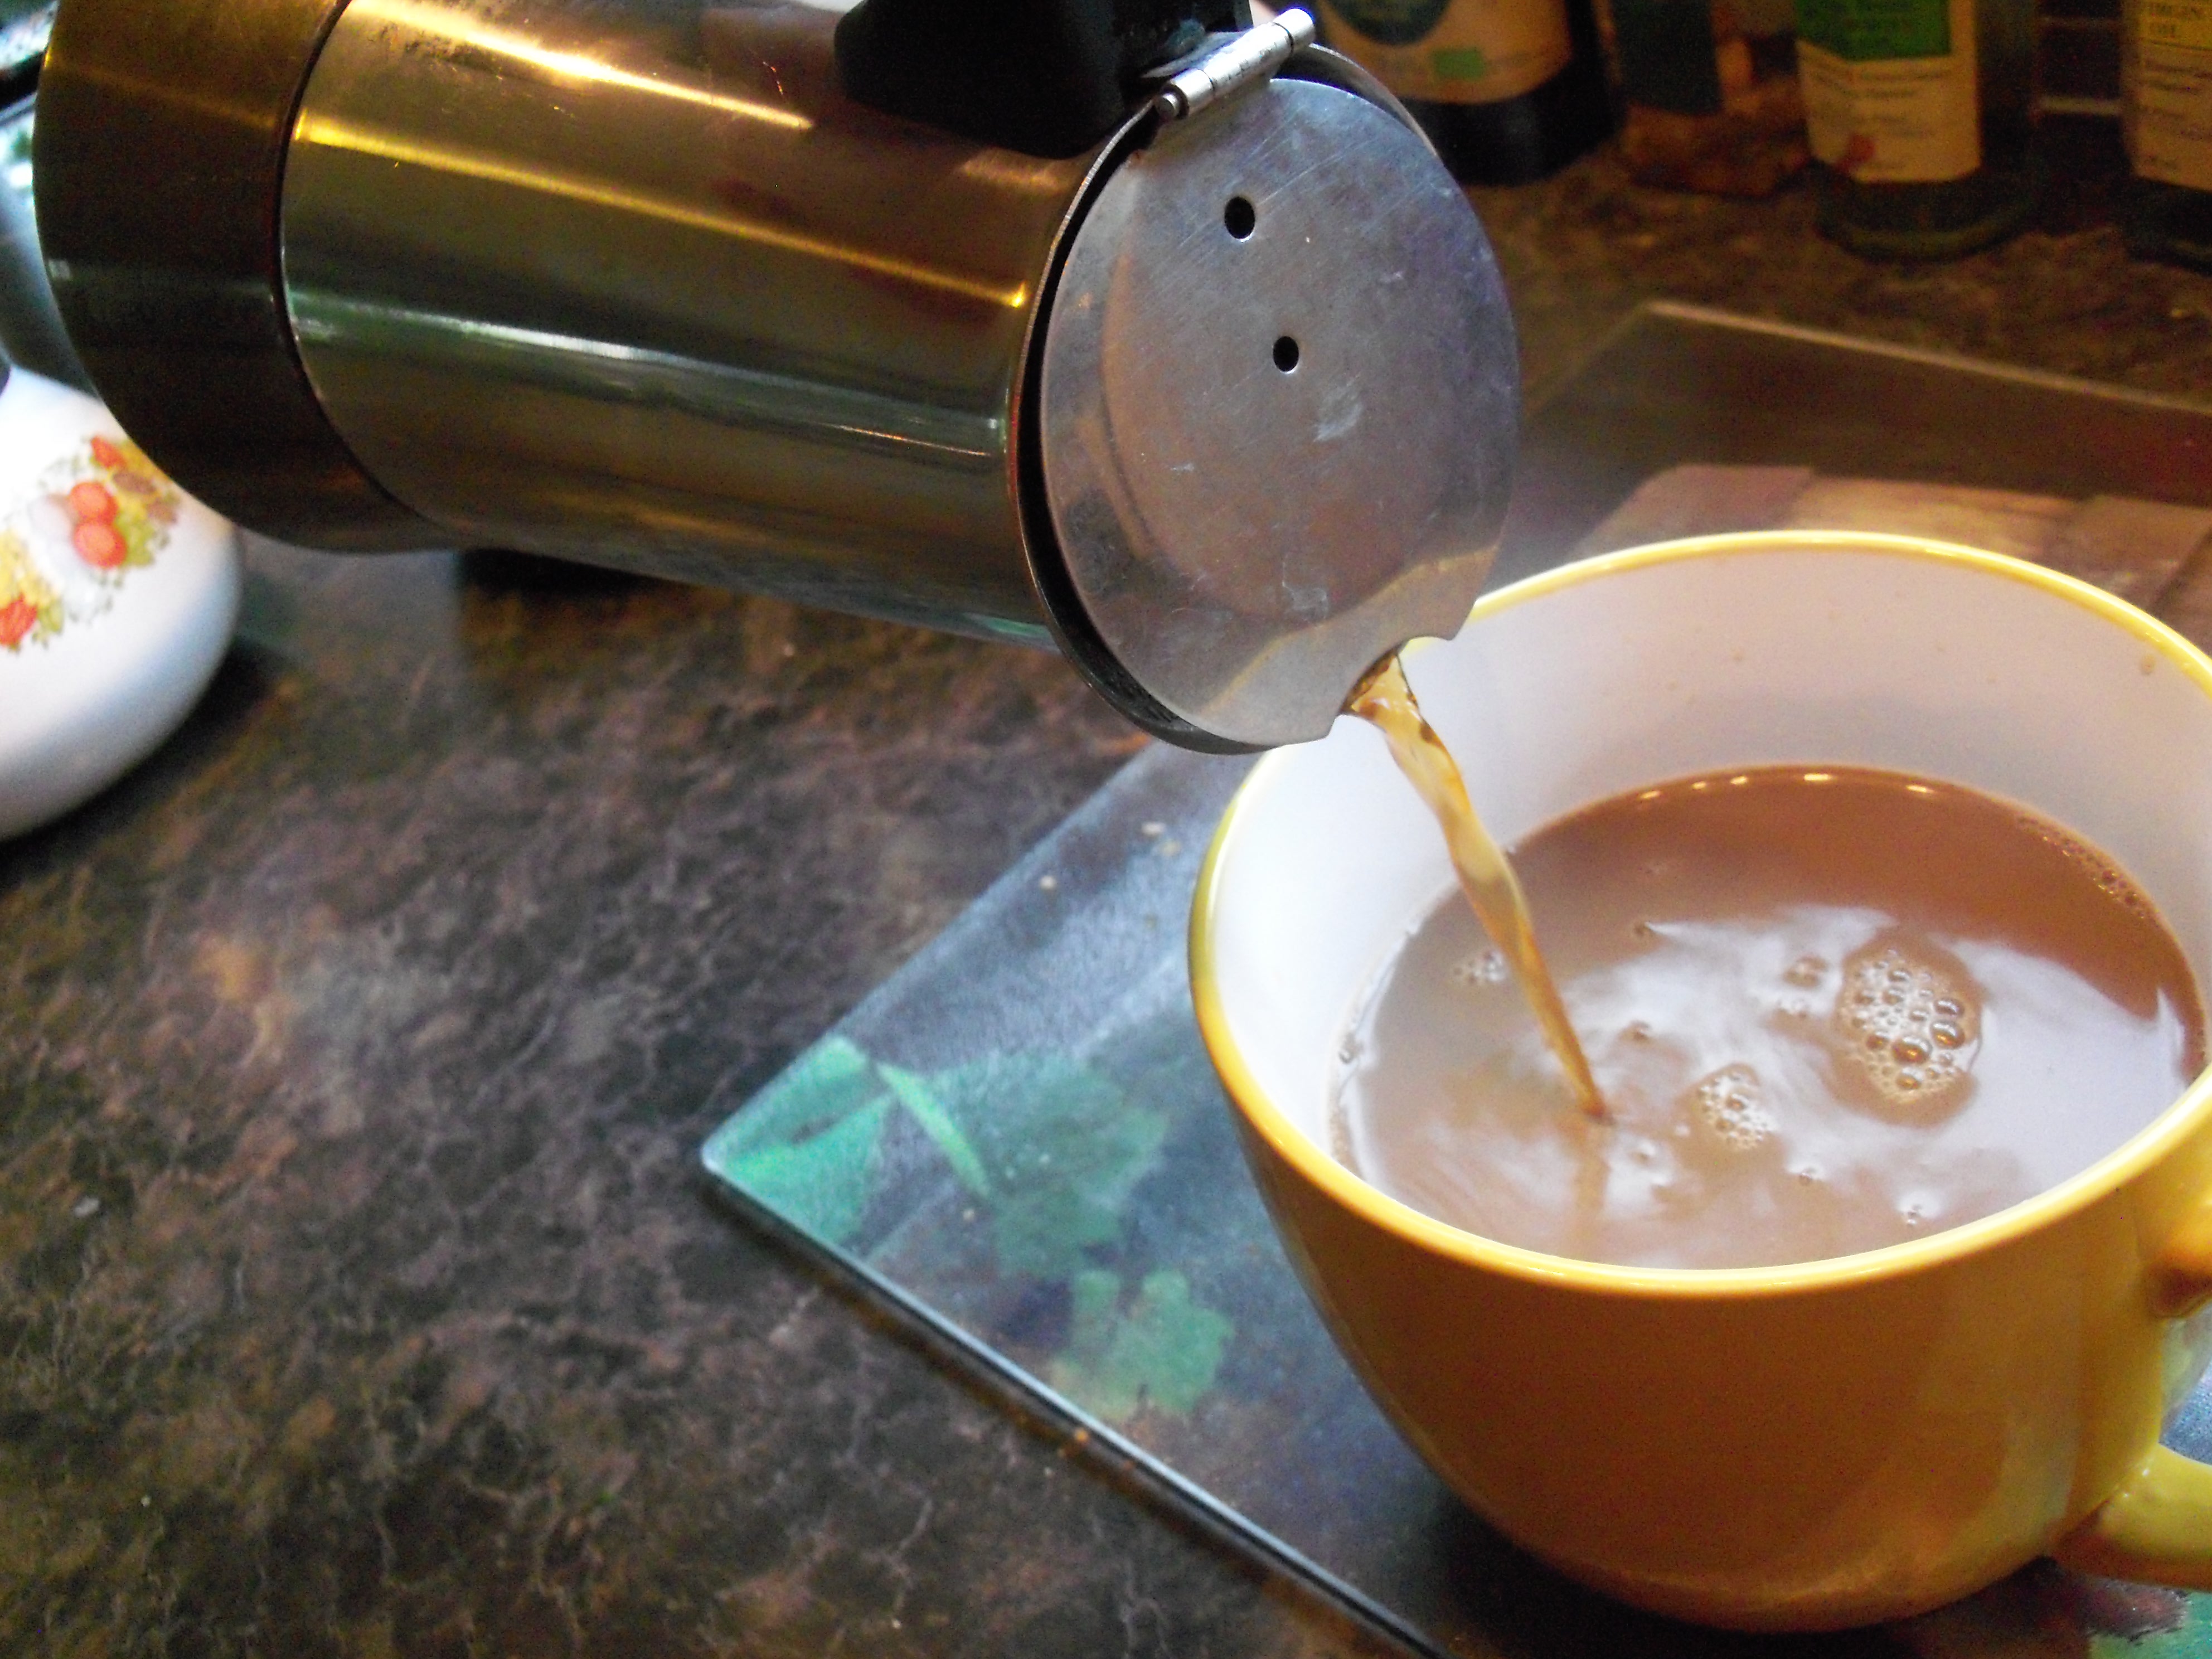
Next place the percolator on a heat source. Stay close by, as this is a very quick process. As soon as you hear the gurgling sound, remove from the heat and pour into a cup or mug, as seen below.
I add milk to my cup ahead of time. This makes quite a bold coffee. If you hold the percolator near a heat source a second time you will hear a little more gurgling, but don’t leave it for more than a second. This will give you a little more coffee.
This style of coffee maker comes in aluminium or steel. This one is my daughter’s and she recommends the steel variety. By the way, I have noticed that while here in New Zealand, this computer keep correcting my American spelling of some words, such as color to colour and aluminium. So, I will go with the flow.
I will let you know when I return home, if I carried one of these with me. I can probably find one at home, but it seems more special to take one from here.
