
This photo of these two smiling ladies filled me with happiness this morning when I first saw it. Continue reading
A Joyful Day
2

This photo of these two smiling ladies filled me with happiness this morning when I first saw it. Continue reading
While knitting a baby blanket using a lavender, pink, and blue variegated yarn, I suddenly remembered back to a year ago, when our neighbor was having her first baby. On her registry was a request for a black and white baby toy. That is when I learned that babies see black and white before they begin to see colors. I, like most knitters, have been creating baby blankets from pale pastel shades. The idea of a black and white baby blanket intrigued me. I quickly looked through my stash of yarn, but no black, and certainly not enough white. I could not get the black and white blanket out of my head, even though my current project was only half finished. Before I knew it, I was on my way to my favorite craft store to buy the needed yarn. I also purchased a new set of circular needles. I prefer to knit with circular needles, finding them more comfortable to work with and less likely to slide from the stitches.
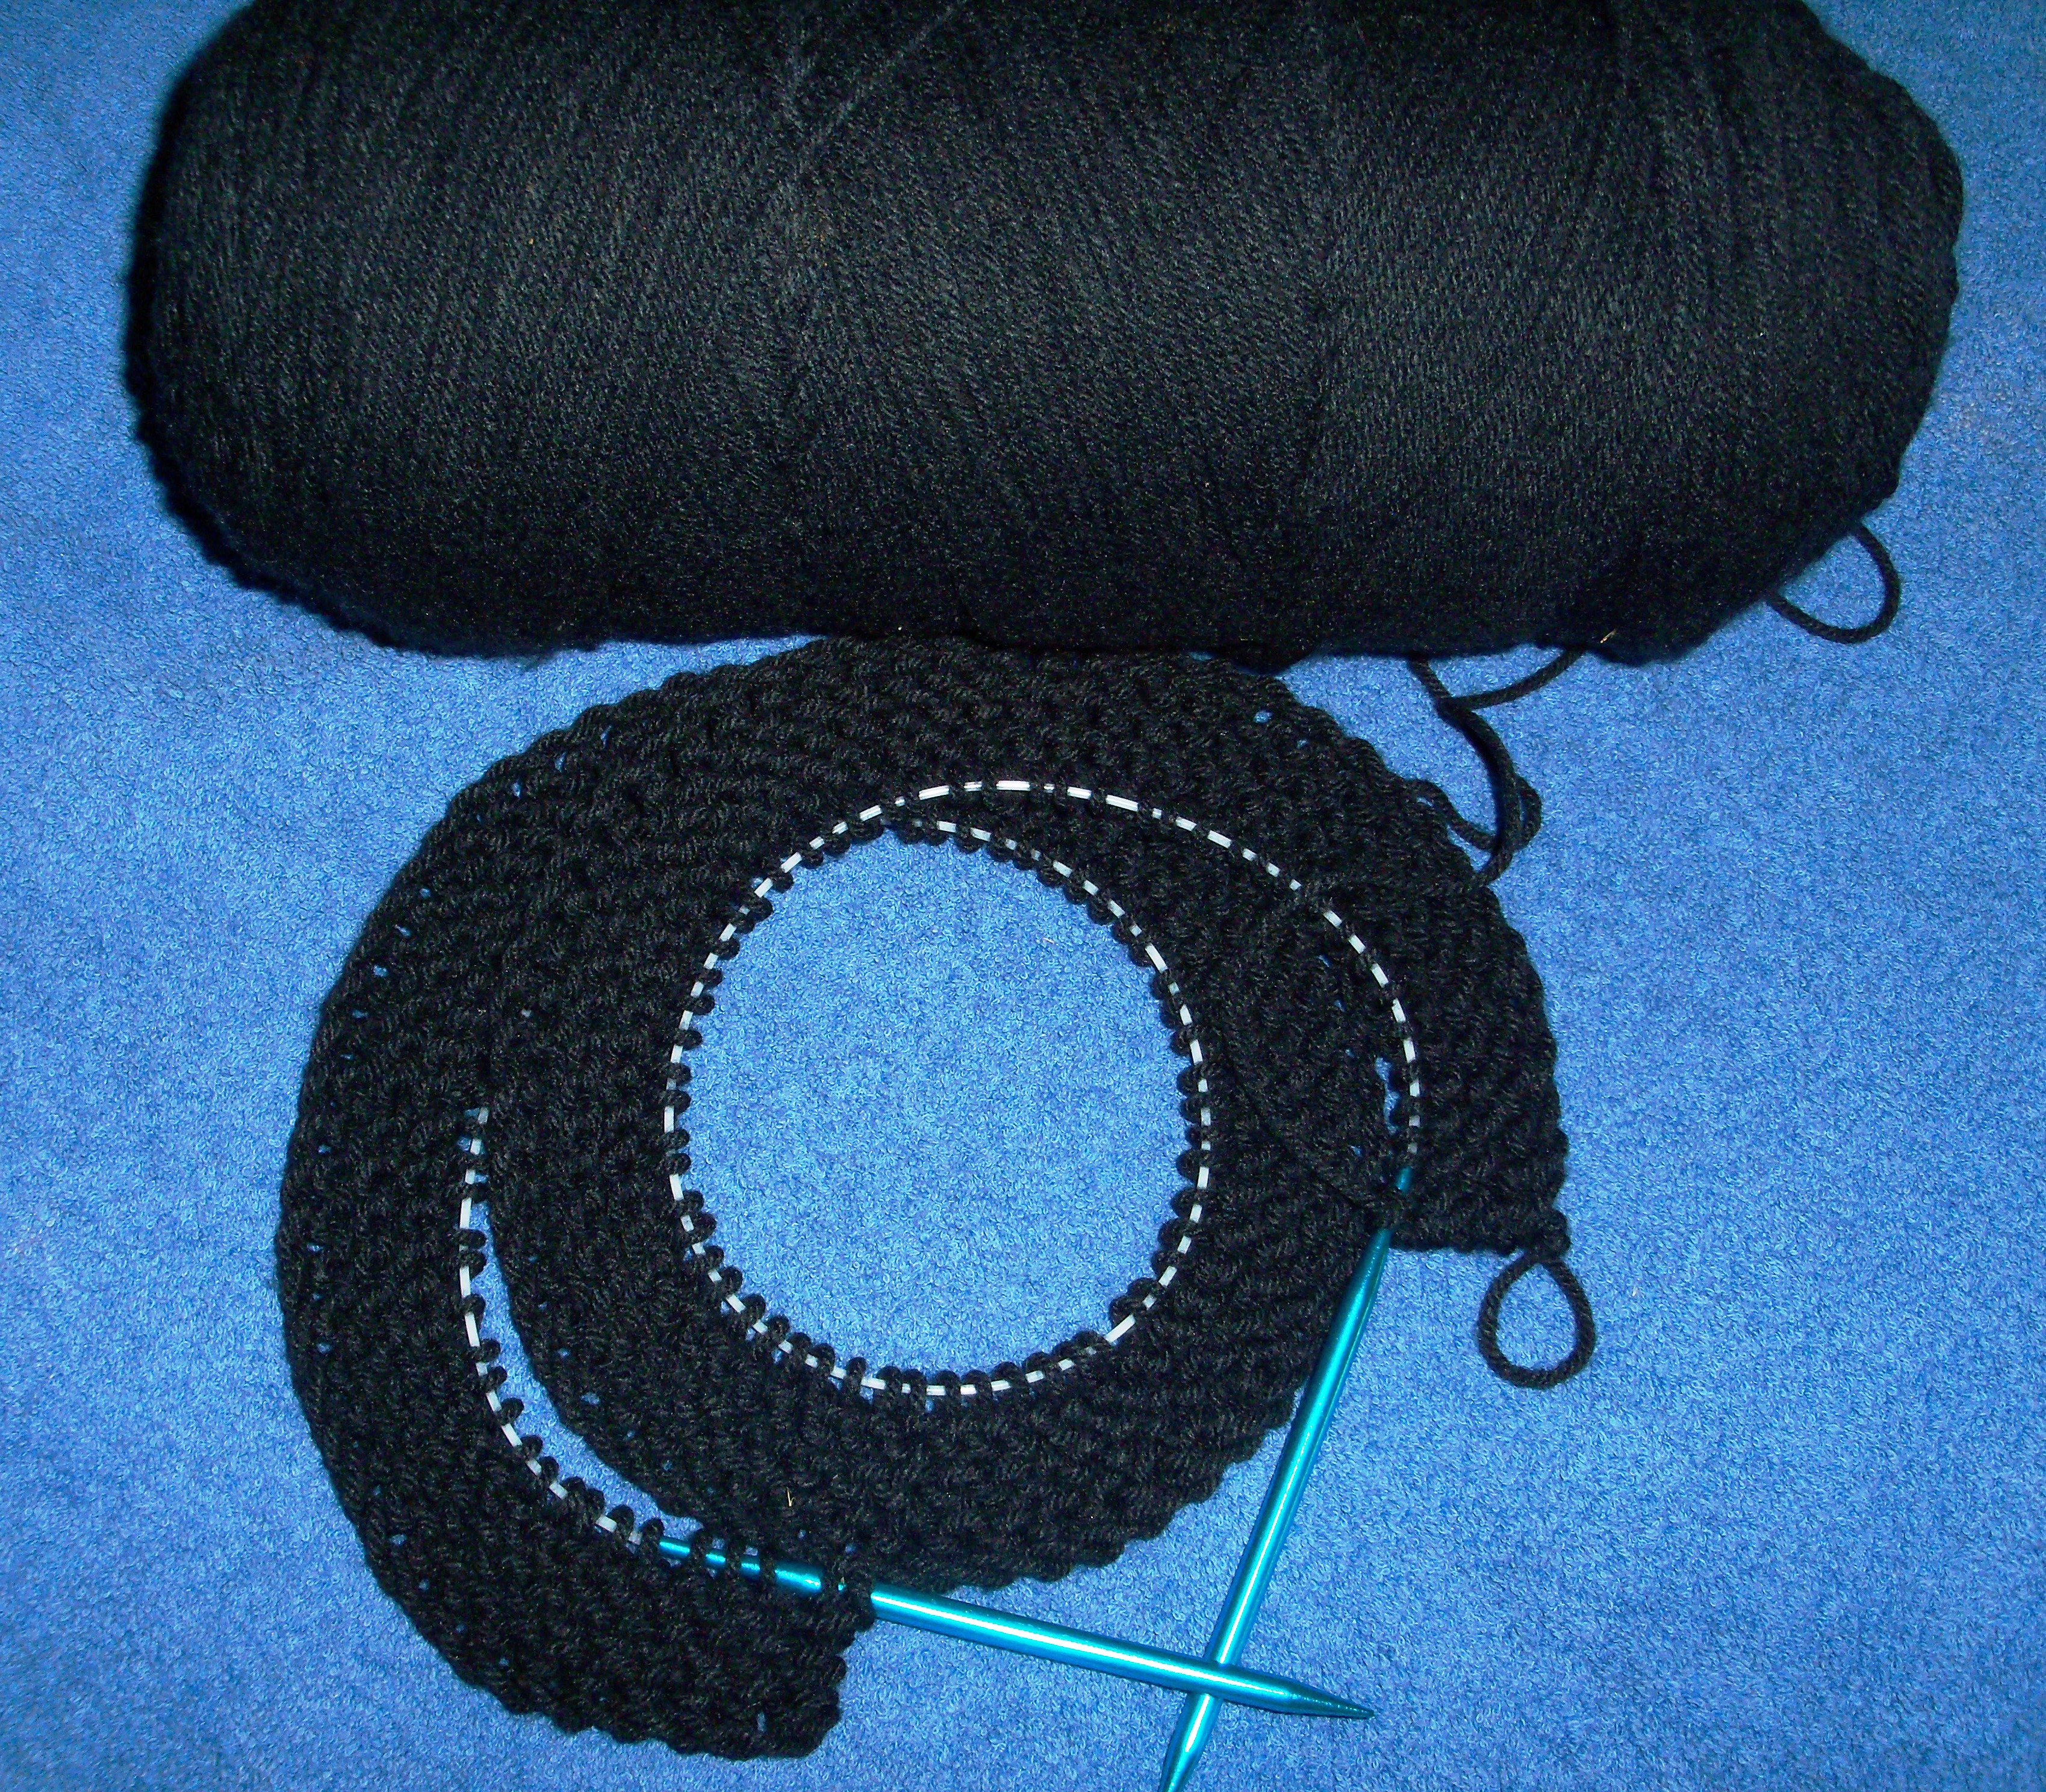
Shortly after returning home with my purchase, I cast on 111 stitches using the black yarn. I liked the idea of a black border for the blanket.
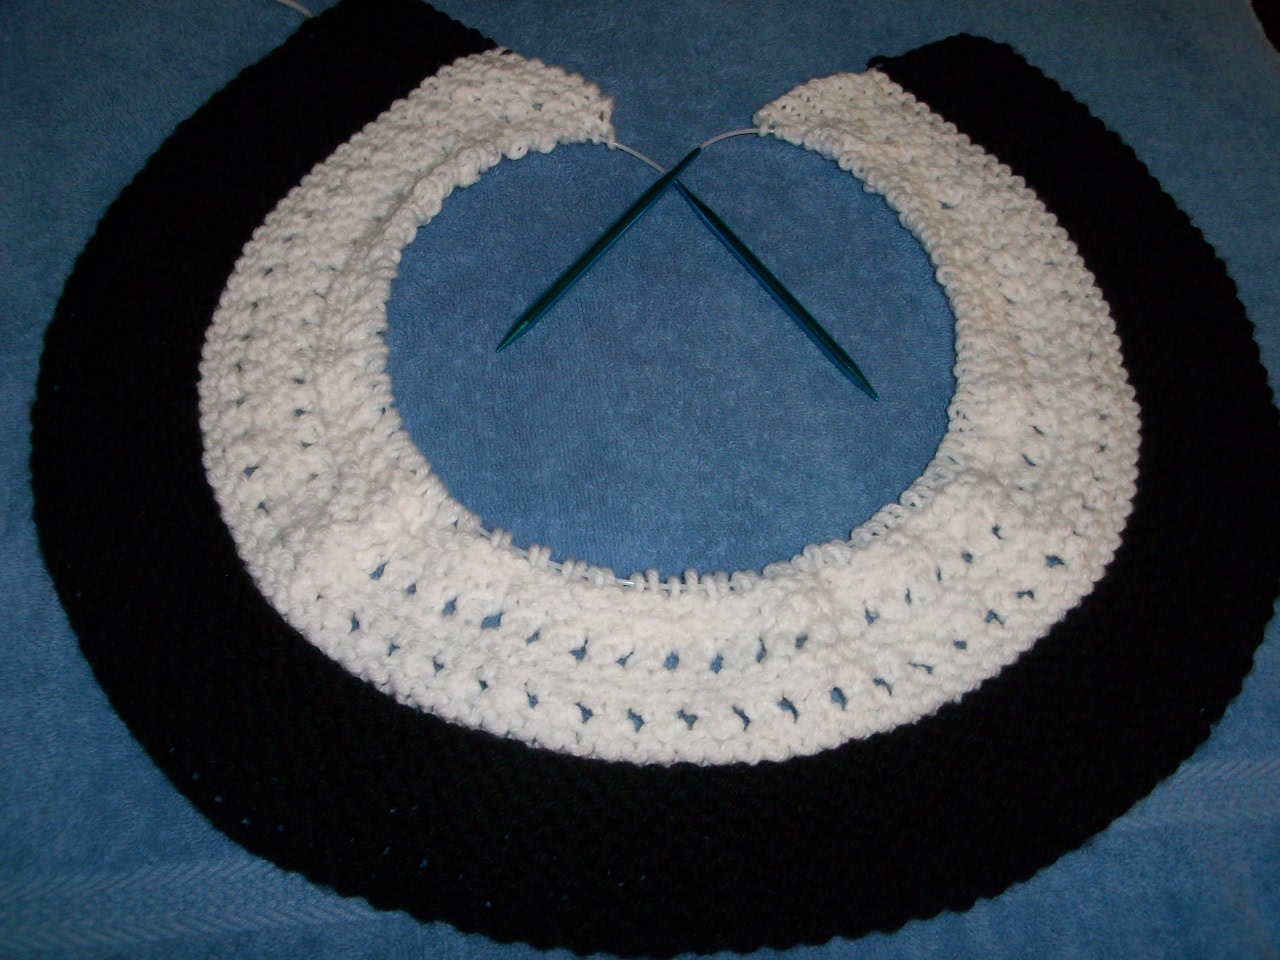
Next it was time to change over to white and begin a new pattern. I liked the look of the black and white combination. I was not sure if I should have changed the pattern, but I wanted to keep going before I made my decision.
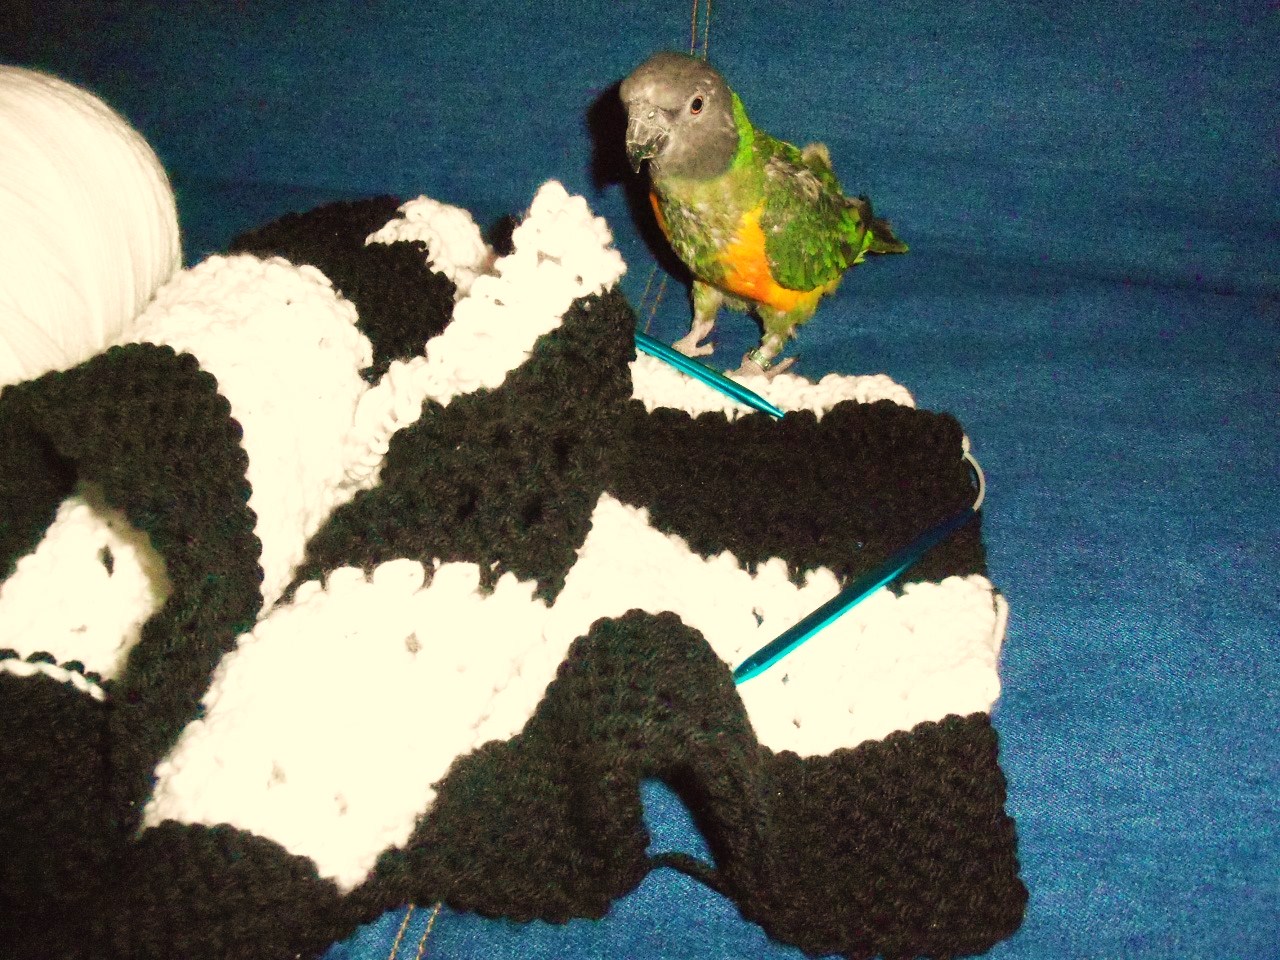
Our Senegal parrot, Cossette is inspecting my work. She wasn’t sure she liked black and white at first, but seemed ok with it as her curiosity got the better of her.
 Several weeks have passed, and the blanket is finished. I tend to be a slow knitter and friends tell me I should learn to crochet, because it is faster. I will have to think about that.
I like the contrast of the black and white, but it does not seem quite right for a new born. I have a feeling that I’ll be going back to my pastel shades. In case you are wondering, Cossette was asleep for the night when I took this photo, so I had to find some stand ins.

Good afternoon! I planned to post this last evening, but was so tired from all of the fresh air and walking, it had to wait until today.
Early last week, my mom and I decided to make Monday a mom and daughter day, so I headed out early yesterday morning for Seal Beach, where Mom lives. It is about a forty minute drive from our house, if the freeway co-operates, and it did. The weather was gorgeous and a perfect day for a trip to the ocean. Above is the amazing view from the Seal Beach pier. You can see we were not the only ones enjoying the view.


Main Street, Seal Beach is delightfully lined with colorful little shops and restaurants. There are just so many interesting places to browse and shop. We were enticed by the constant aroma drifting from a cinnamon roll bakery, but didn’t give in to temptation. Today, I am thinking perhaps we should have.
One of my favorite stores, that is a must see, is the California Sea Shell Co. at 125 Main Street. It has every kind of shell you can imagine and many other wonderful items.

Our last stop was to a small nursery, also on Main Street. Walking around the many plants and flowers, I was reminded of a recent trip to Carmel,California. I loved exploring while Mom made her choice and purchased a few flowering plants to take home to her garden.
It really was amazing to see all that was available on that wonderful little street that is the heart of Seal Beach.

It was a perfect day, and we promised each other we would do it again, soon. Who knows, maybe the next time we will dip our toes in the Pacific.
Five days have passed, and the sourdough starter is ready. I do this next step the evening before bread baking day.
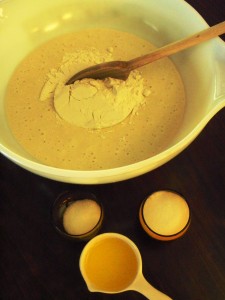
To make the primary batter needed for the actual bread, I take one cup of my starter and place it in a warm bowl. Then I place the remaining starter, about one cup, in the refrigerator for future use. Remember to use something non-breakable and not to seal it too tightly.
Next, add 2 cups of warm water to the 1 cup of starter in the bowl. Then add 2 1/2 cups of white flour, stirring continuously for 4 – 5 minutes or until the mixture is smooth. Cover the bowl with plastic wrap and place in a warm draft-free area for 12 hours of proofing. The next morning, the primary batter is ready to go. You end up with approximately 4 cups of primary batter, i.e. three cups for your bread recipe and one cup to store. I know this seems like a lot of work, but once you have your starter made, future peparation will not have as many steps. I promise.
 Now we are ready to start the bread itself.
3 cups primary batter
6 – 6 1/2 cups white flour
2 TBS white sugar
1 1/2 cups warm milk
2 TBS melted butter (or margarine)
2 tsp salt
Place the 3 cups of Pimary batter in a large warm bowl and stir in 1 cup of the flour. Stir in 2 TBS of sugar. Then add the salt, warm milk, and melted butter and stir. Next, add approximately 4 cups of the flour or enough to make the dough too stiff to stir with a spoon.
Now place the bread on a well floured bread board. Knead in enough additional flour (about 1 – 1 1/2 cups) to make the dough smooth and elastic. I find sourdough to be very forgiving, so don’t get too caught up in the consistency of the dough.
Next, lightly apply a little softened butter to the outside of the dough. Place in a lightly greased bowl, cover with a cotton towel, and place in a warm, dry area (85-90° F) until the dough doubles in size, or approx. 2 hours.
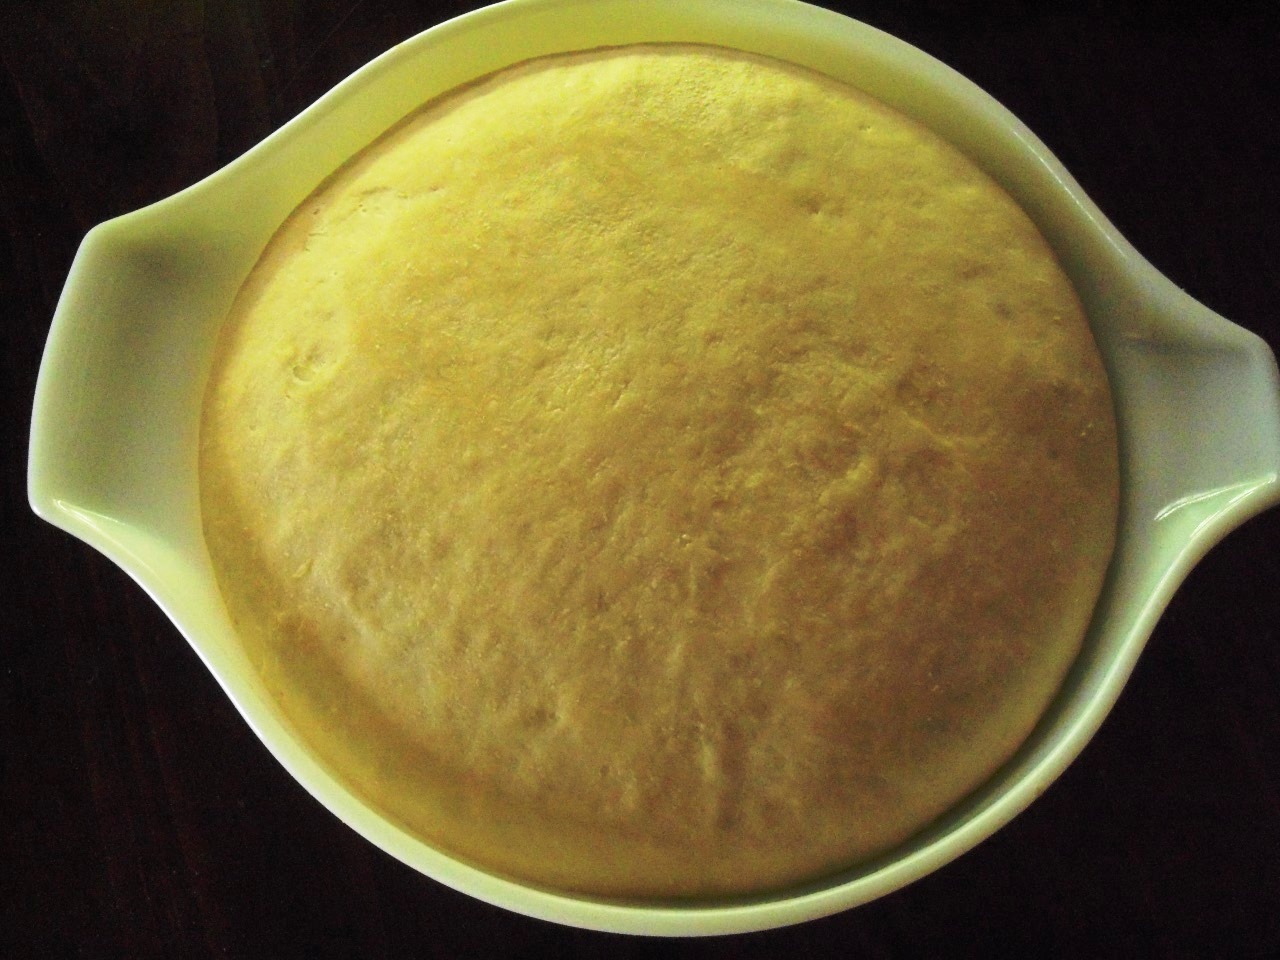
When the dough has finished rising, punch it down with your fist to release built up gases return the bowl to the same warm, dry place, and let rise for another 30 minutes.
Place risen dough back onto floured bread board and divide in two. Fold each half over unto itself and pinch the bottom closed. Place the dough with the sealed bottom down into a well greased (3″x5″x9”) loaf pan.
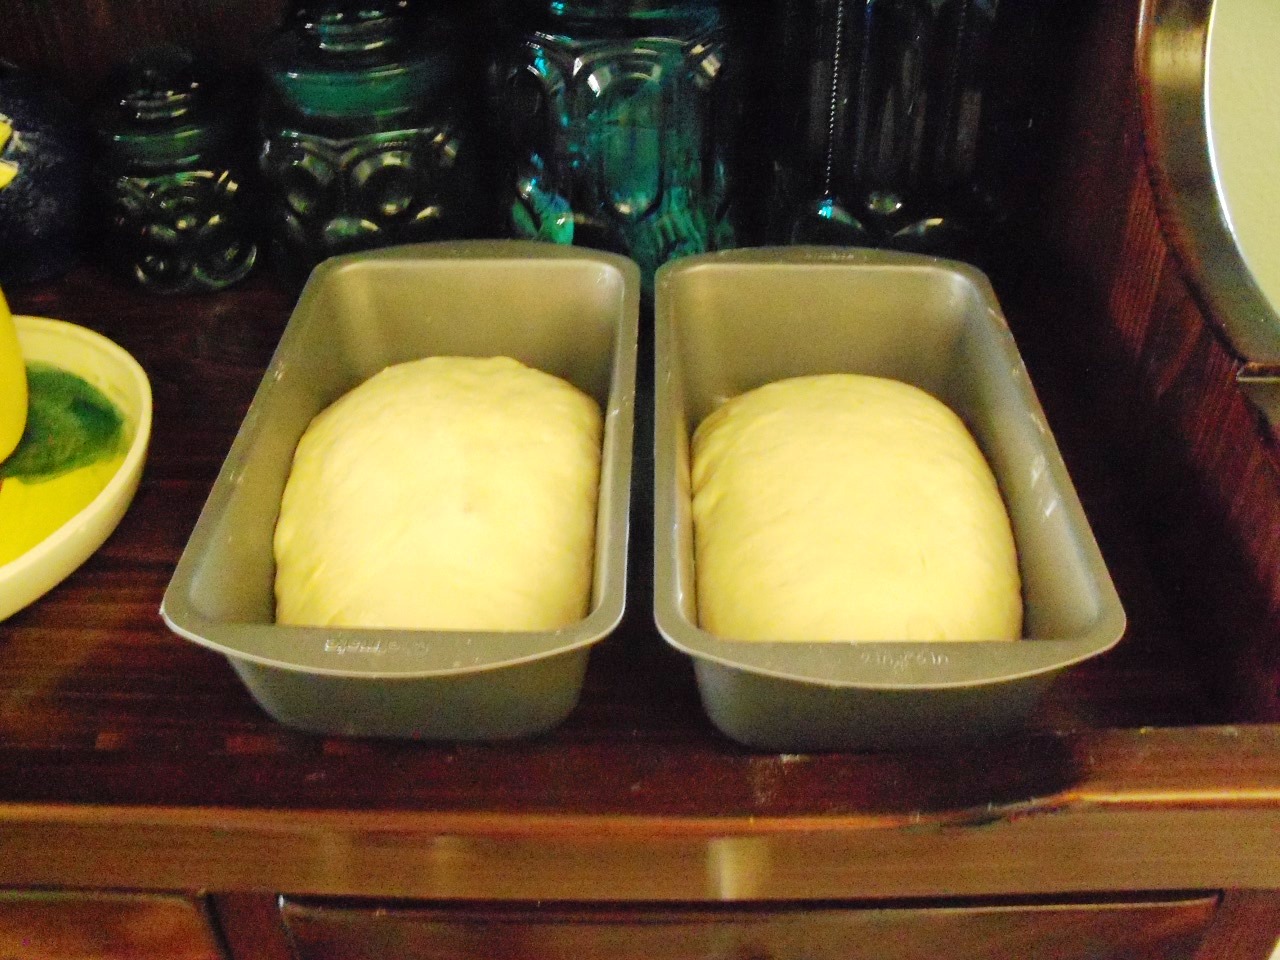
Brush the tops with a little melted butter and then place the pans in a warm spot for approximately 90 minutes.
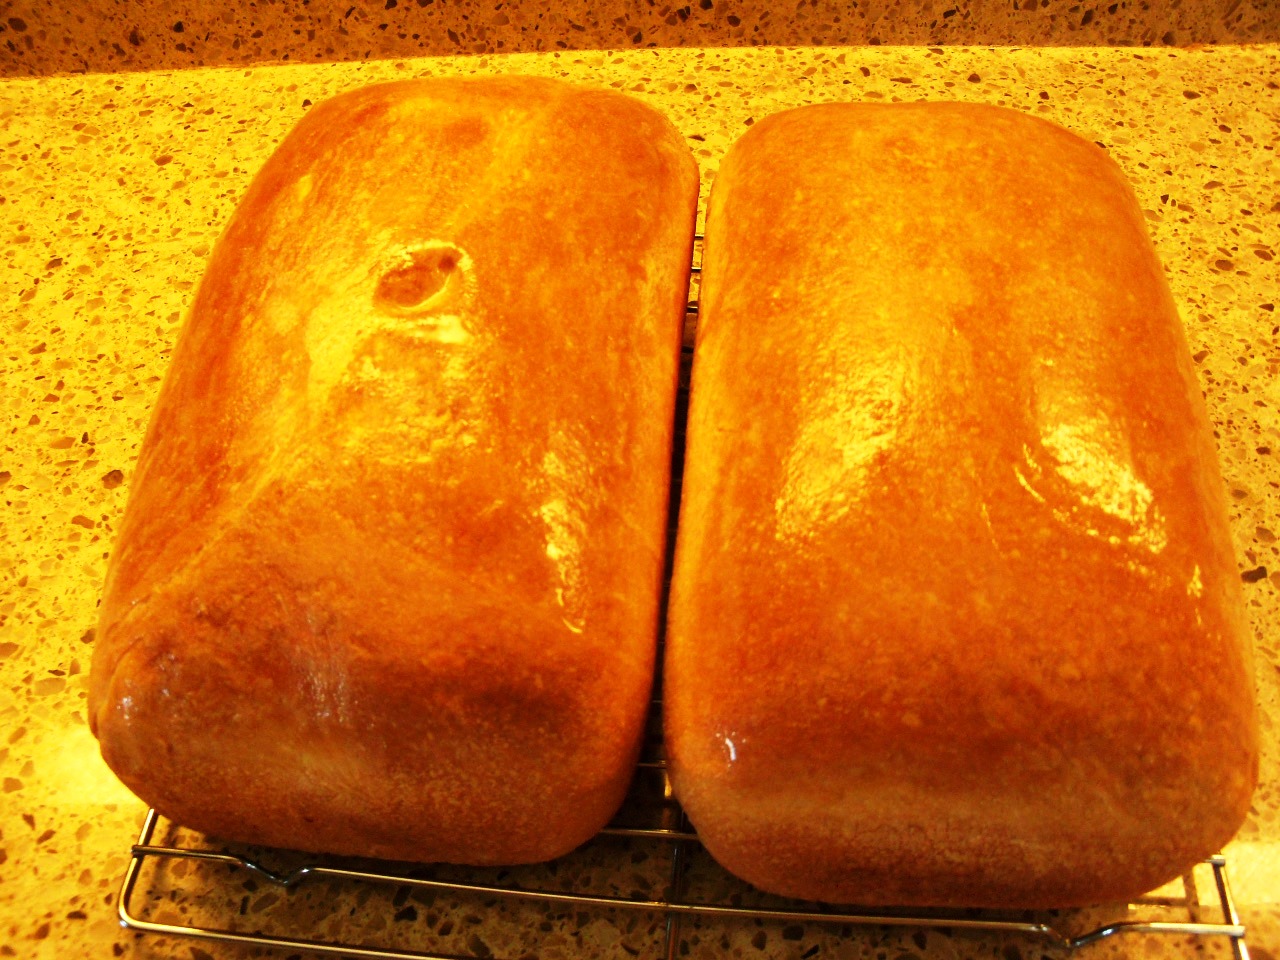
After the final rising, preheat oven to 375° F, then place bread pans on the center rack and bake for approximately 45 minutes or until the bread moves away from the sides of the pans and is well browned on the top.
When baked, remove the bread immediately from the pan and place loaves on their sides on wire racks, to cool. Brush the tops with melted butter for a softer crust.
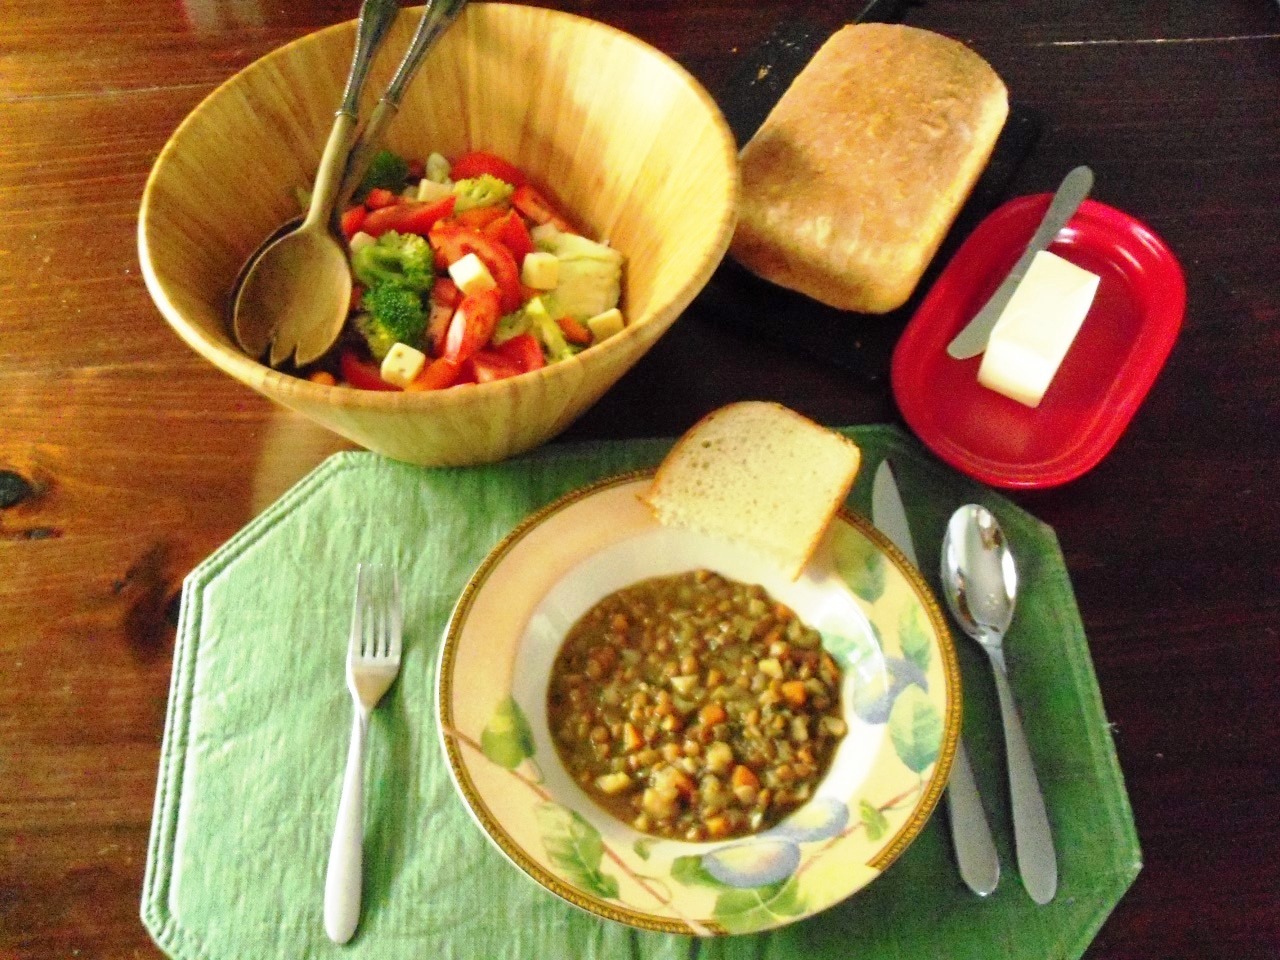
Finally, I hope you enjoy your sourdough bread as much as we did last evening, along with our dinner of lentil soup and tossed green salad.
If you have any questions about the recipe, or about the process of making sourdough bread, please do not hesitate to email me at Visit@Plumbirdcorner.com